



30+ Best iPhone Mockup Templates Worth Trying
Looking for the right iPhone mockup template to fit your brand? Checkout our list of the best iPhone mockup templates worth trying.
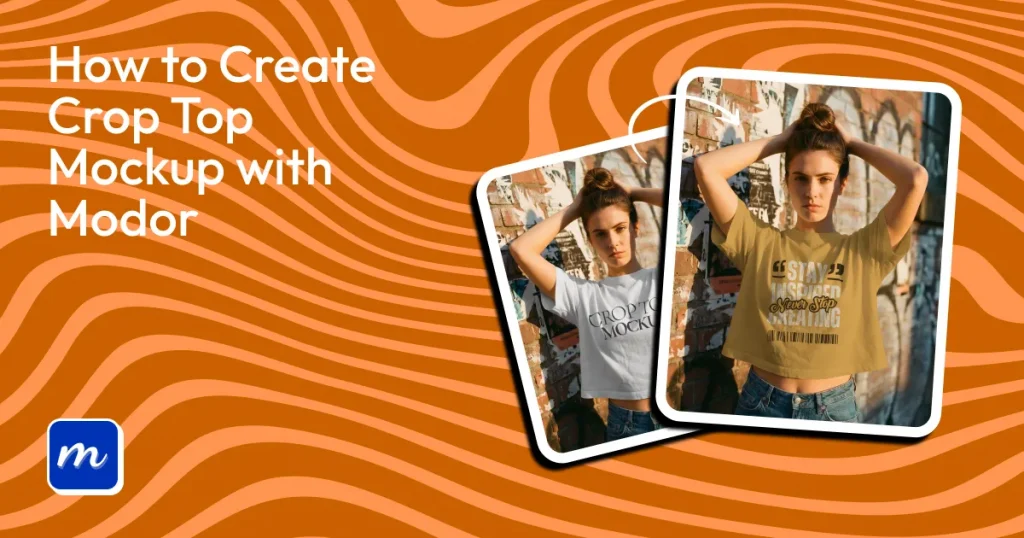
If you are looking for how to create crop top mockups, the process is simple. You upload your design, place it on a crop top mockup template, customize colors, and export it for use.
Most online crop top mockup generators follow a similar workflow but differ in quality and flexibility. Tools like Modor simplify this with features such as 10,000+ mockup templates, high-resolution print-ready templates, and watermark-free exports.
To help you create crop top mockups, we have put together this guide on how to create crop top mockups with Modor step by step. We will also cover best practices, image optimization tips, and how to create mockups that work for ecommerce platforms like Etsy and Amazon.
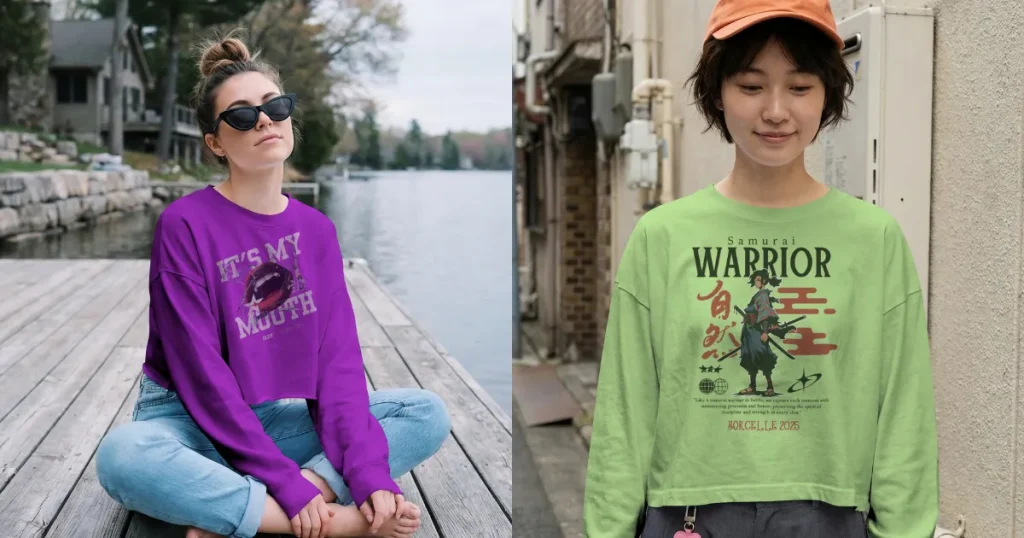
A crop top mockup is a digital preview showing your design on an actual garment. This can be used by designers, ecommerce sellers, or marketers to instantly visualize how their design would look on real fabric. This matters because it catches design problems before committing to production.
Not only that, but it also helps customers see exactly how the crop top will look on a real person before they buy.
But achieving this with traditional photoshoots is expensive and time-consuming. If you’re showcasing your crop top designs manually with models and photoshoots, you’re burning money and weeks of your timeline on every single iteration.
That’s where learning how to create crop top mockups changes the math.
Modor’s crop top mockup generator dramatically reduces production costs and compresses timelines from weeks to hours. You skip the model booking, the photographer, the studio rental, and the retouching.
Before you learn how to create crop top mockups, you need to understand why you even need them in the first place.
There are a few things to consider before you learn how to create crop top mockups with Modor.
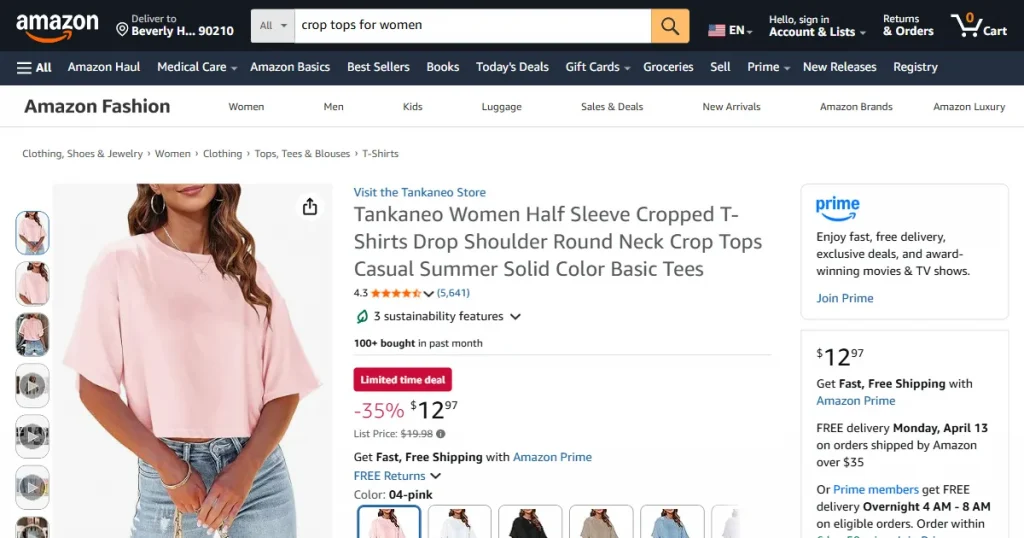
Before learning about how to create crop top mockups, you need to understand the requirements across different eCommerce platforms.
Amazon has the strictest image requirements of all platforms. Each mockup needs a minimum of 1000 x 1000 pixels. You can go even higher, but not more than 10000 pixels.
File size must stay under 10 MB per image. Amazon is strict about this because it wants its pages to load quickly.
Amazon’s algorithm favors listings with multiple images in different styles. Upload your black crop-top mockup on one slide, your white crop-top mockup on another, and show it styled on a model in the third slot. This mix builds trust because customers see your product from different angles.
Keep the background clean and professional. Amazon shoppers expect polished images. Avoid distracting backgrounds or overly casual aesthetics.
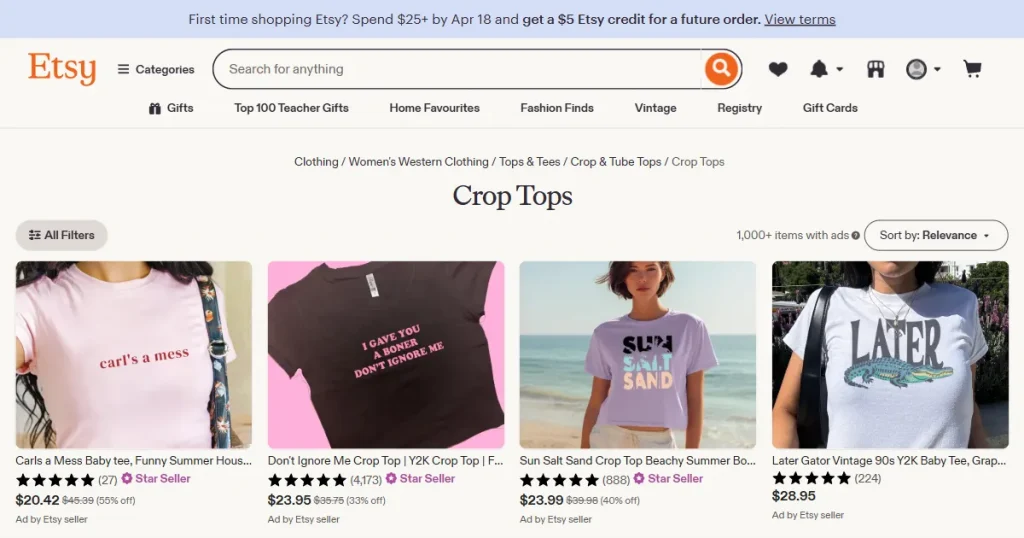
Etsy rewards authenticity over perfection. A white crop top mockup with a simple background actually performs better here than overly edited studio shots. Etsy buyers trust small independent sellers, so your mockups should reflect that natural, handmade aesthetic.
Transparent backgrounds work best on Etsy. Export your mockups as PNGs to preserve transparency.
You can also experiment more with visuals on Etsy. Use a mix of styles, like lifestyle shots and flat lays, as long as they feel natural and consistent with your brand.
Upload at least 3 to 5 images per listing. Etsy gives you 10 slots, and using them all actually helps your search visibility.
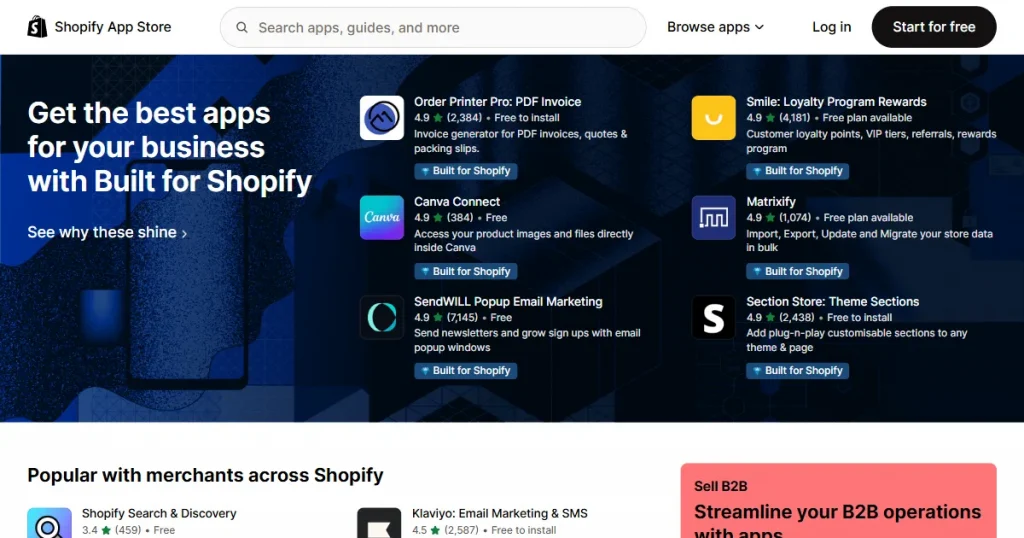
Shopify gives you the most control, which means you can optimize for your specific brand. Start with 1000 x 1000 pixels as your baseline, but go larger if your theme can handle it without slowing down your store.
Page speed is everything on Shopify because you’re hosting everything yourself. Large image files slow down your site, which kills conversions. Shopify prefers keeping the file size below 20 MB, but ideally it should be around 500 KB to 2 MB.
Use 3 to 5 images per product. Start with a white crop top mockup, then add color variants, and include a lifestyle shot if possible. Keep the mockup visuals consistent to build brand recognition.
Mobile optimization is non-negotiable on Shopify, since most of your traffic comes from mobile devices. Make sure your mockups stay clear and readable on smaller screens. If your design has small text or fine details, test it on a phone before going live.
Now that we have a better idea about what crop top mockups are, here are the best tools that can help you create crop top mockups.
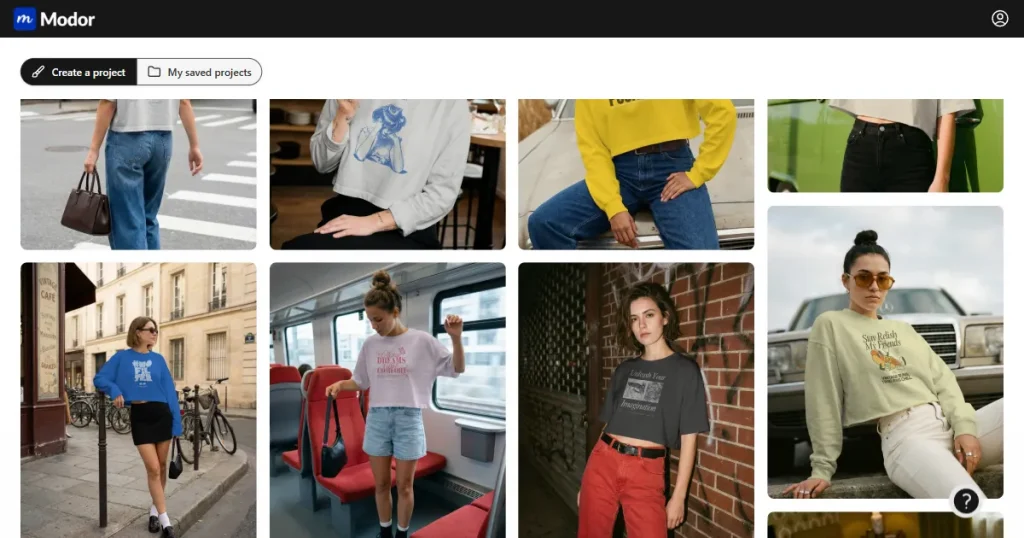
Modor is an AI-powered mockup generator with over 10,000+ mockup templates across 20+ categories, so whether you’re designing oversized crops or fitted styles, there’s always a starting point for you.
The best part is that it’s AI that wraps your design around fabric folds so your mockups actually look like real model photographs instead of flat digital paste-overs.
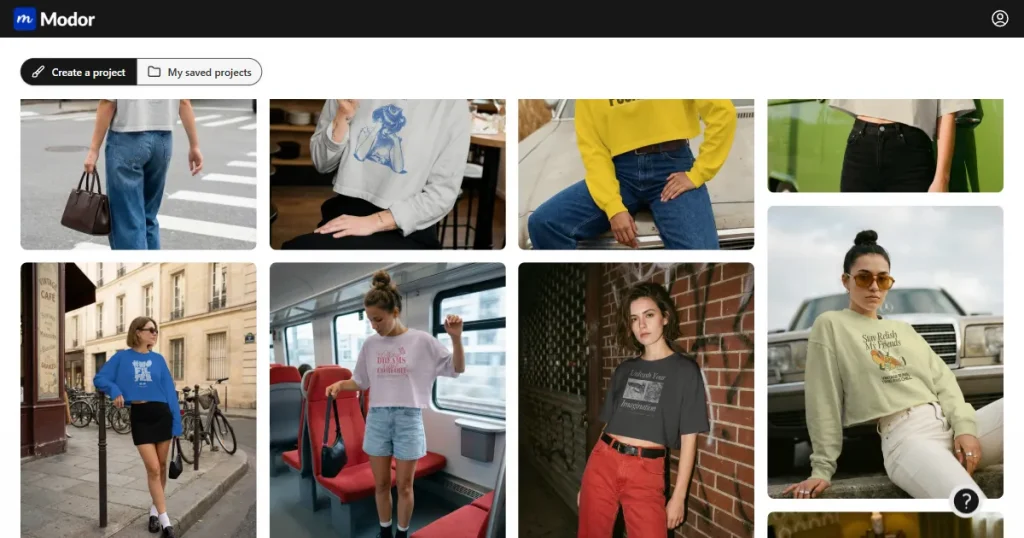
You can pick from different models and crop top mockup styles, like oversized or long-sleeve mockups, and black or white crop top mockups, whatever matches your brand.
Learning how to create crop top mockups in Modor is fast. You go from raw design file to finished mockup in about a minute, which means there’s no steep learning curve here.
Also, all the mockups you create with Modor, even the free ones, have no watermarks and can be used for commercial purposes.
For print-on-demand sellers running high volume, Modor’s bulk generation is the real time-saver. Create one project, generate 50 mockups in different variations, and download them all as a single zip file instead of clicking export 50 times.
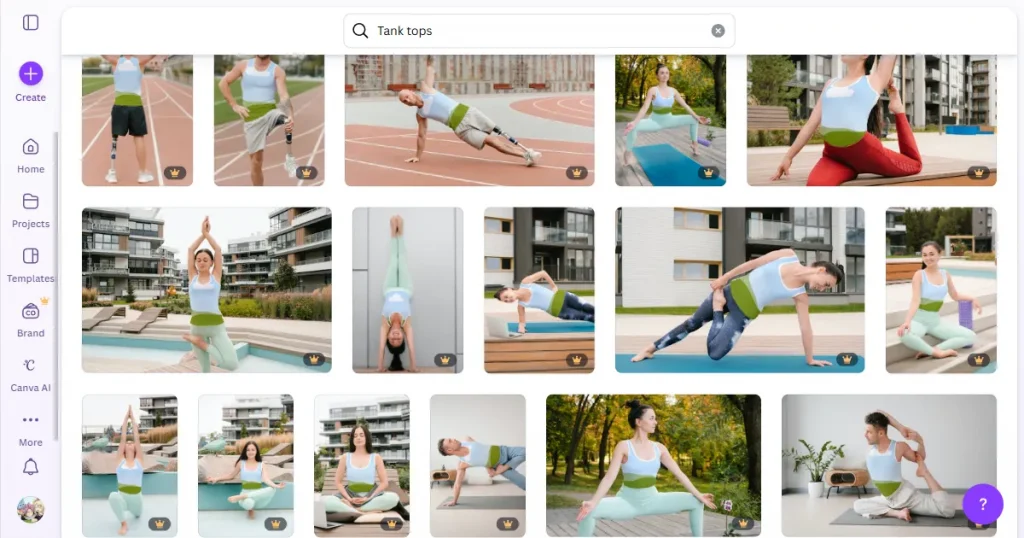
Canva is another amazing tool you can use to create crop top mockups. It has a dedicated mockup tool, but the free crop top mockup templates are generic, making it hard for designs to stand out.
Canva is primarily a design tool, not a dedicated mockup generator. While you can create crop top mockups, you’ll need to handle design placement and lighting manually, which takes time and often doesn’t look photorealistic.
A more efficient approach is to use Canva for creating your design, then move it to a dedicated mockup tool like Modor to generate the final mockup.
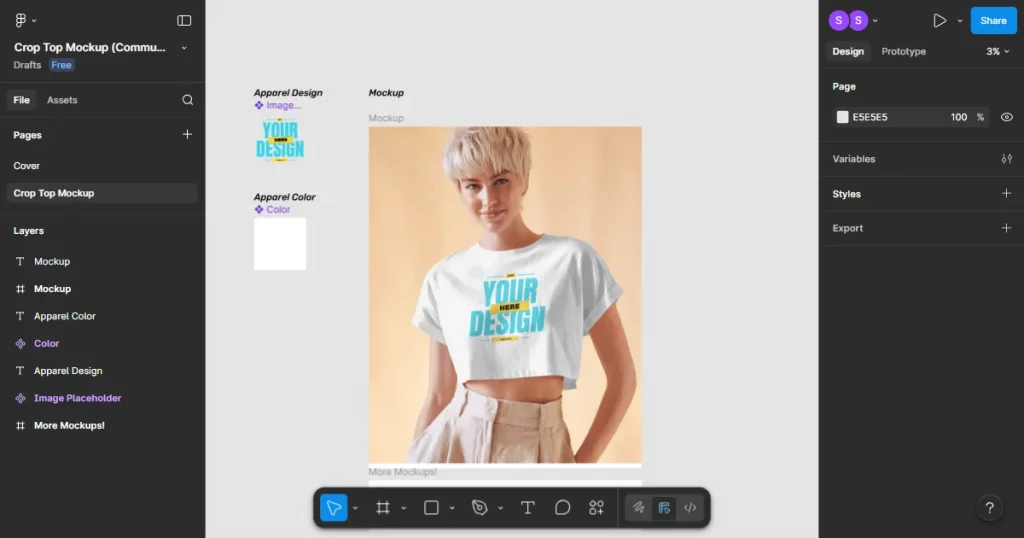
Figma is a collaborative UI design tool. It has a built-in community dedicated to free crop top mockup templates, where users can find crop-top mockups.
But the problem is that the quality of the crop top mockup templates varies. So, it’s pretty difficult to maintain a consistent visual identity across multiple mockups.
And even if you use Figma on a daily basis, it involves a lot of manual work on your side. Which isn’t ideal when your goal is to ship mockups quickly.
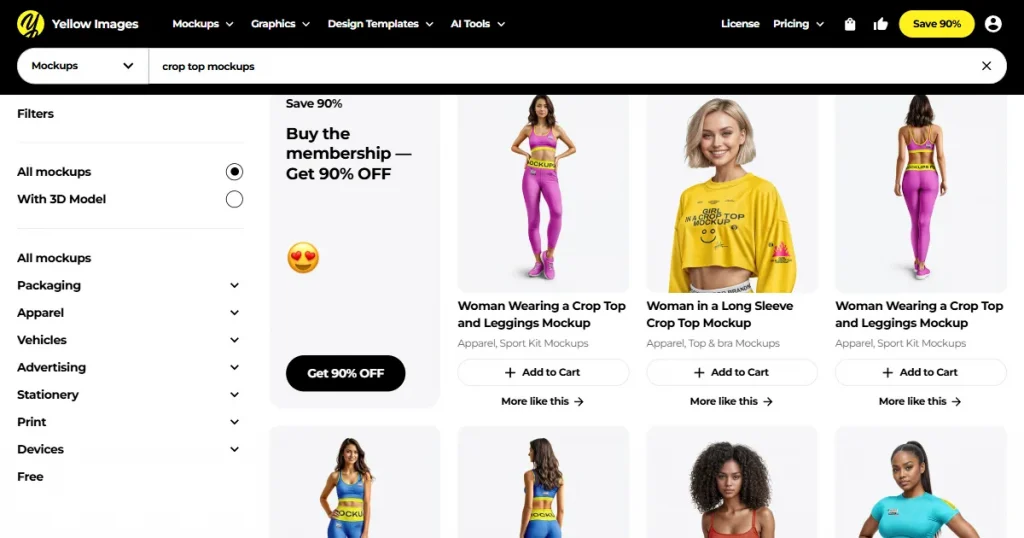
Yellow Images is another great tool if you are looking to create crop top mockups. It provides both free and premium PSD crop top mockup templates for designers who want complete customization control over their mockups.
Although it’s a useful resource, it requires Photoshop skills, and many templates appear AI-generated, which can make your product visuals feel less realistic.
1. Create Account and Log In
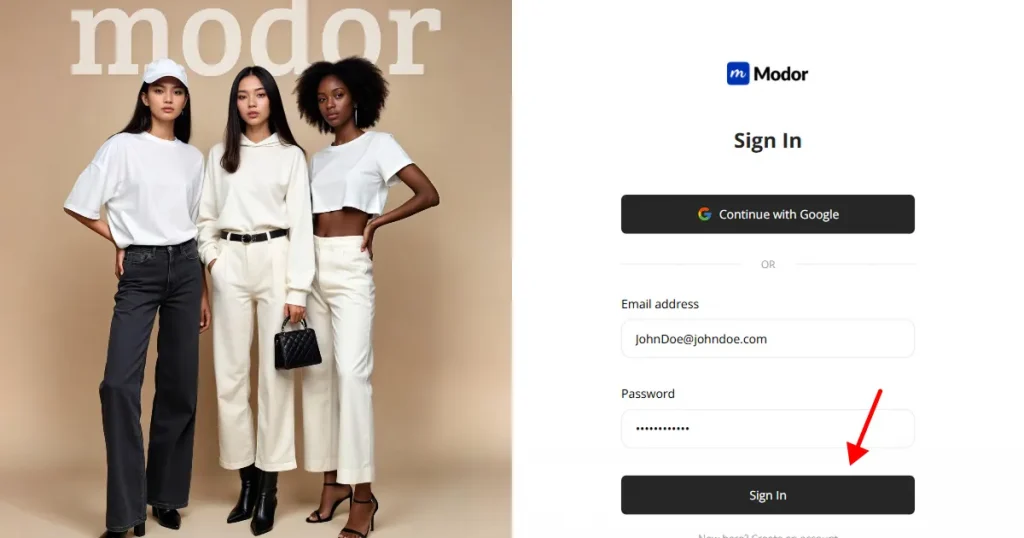
Create an account using Google login or Email login. Once the account is created, you can log in using the same method. Google login is always preferable because it is quick and easy, and no extra verification steps are required.
2. Select Crop Top from Categories
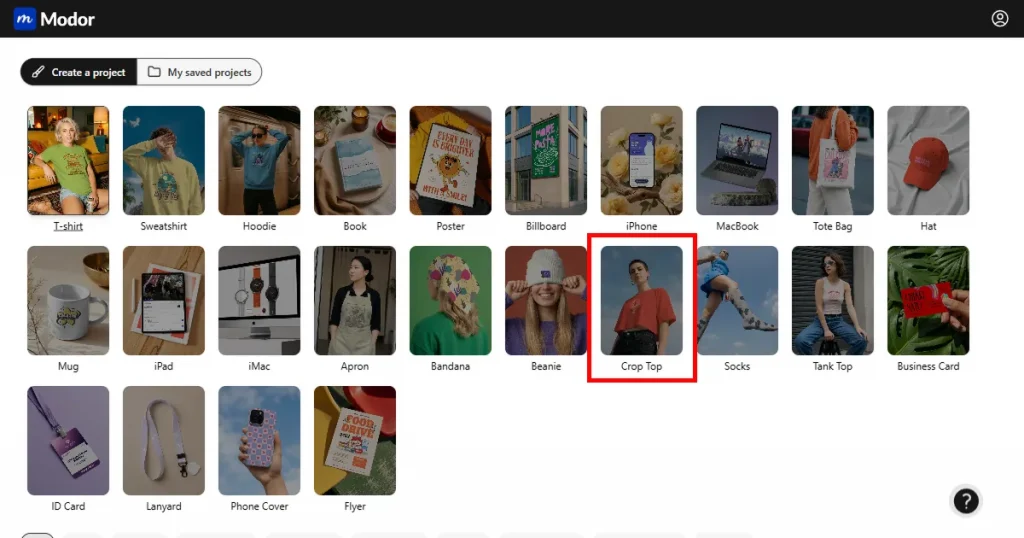
Once inside the tool, you can select the Crop Top category from the 20+ categories available in Modor.
3. Select a Template
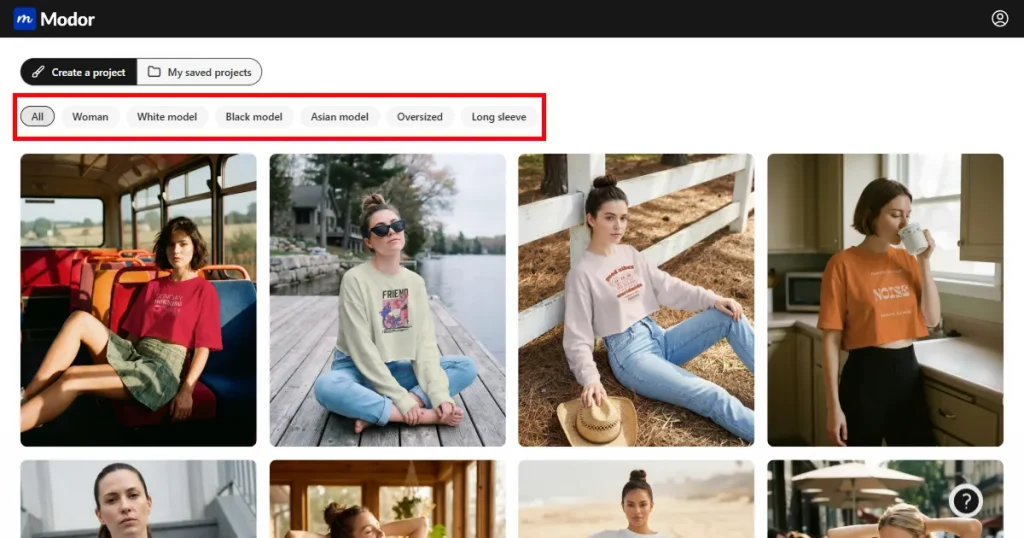
You can also choose the model type and the crop top type you want to create.
4. Customize the Crop Top Mockup
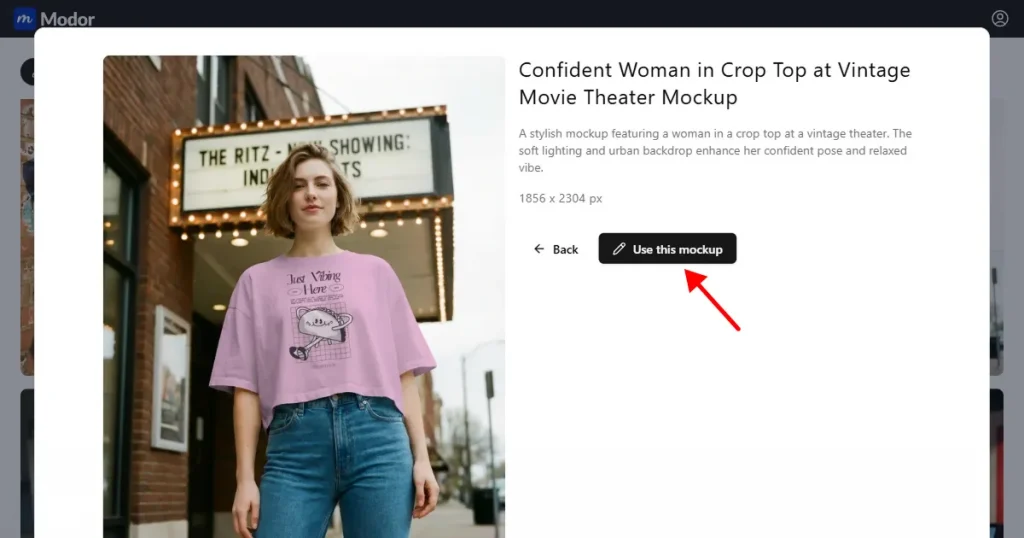
Once you find a template you want to use, click the Use this mockup button to automatically open a project.
5. Click on Edit Mockup
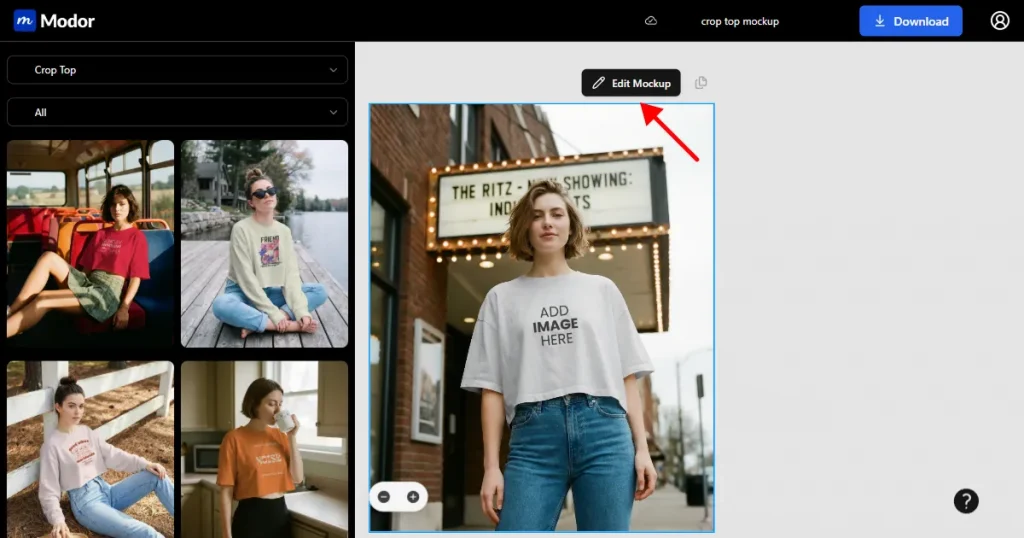
Once inside the project, name it accordingly, then click Edit mockup to open the editing dashboard.
6. Upload Your Design
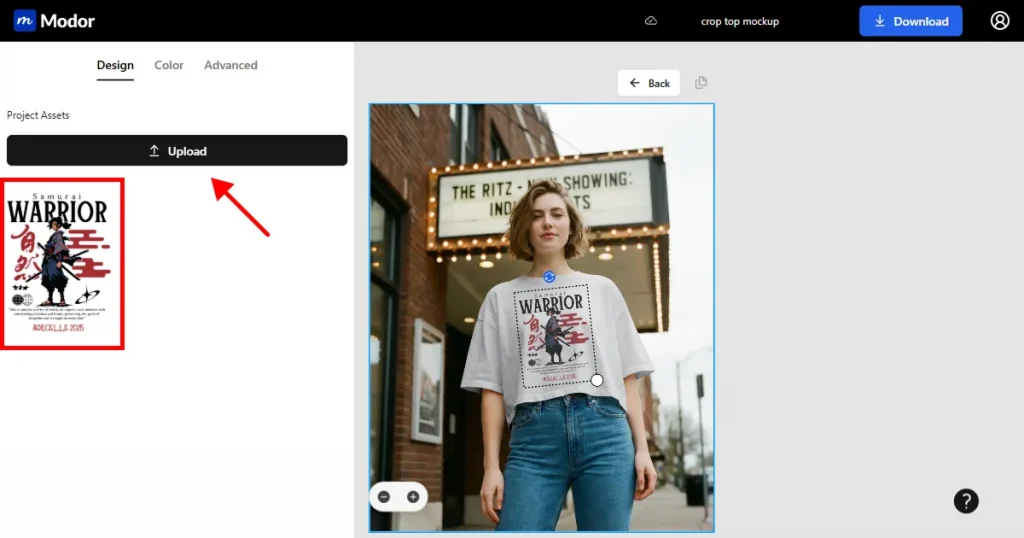
Once you are in the editing dashboard, you can upload your design to the crop-top mockup template by clicking the Upload button on the left-hand side.
7. Change the Color
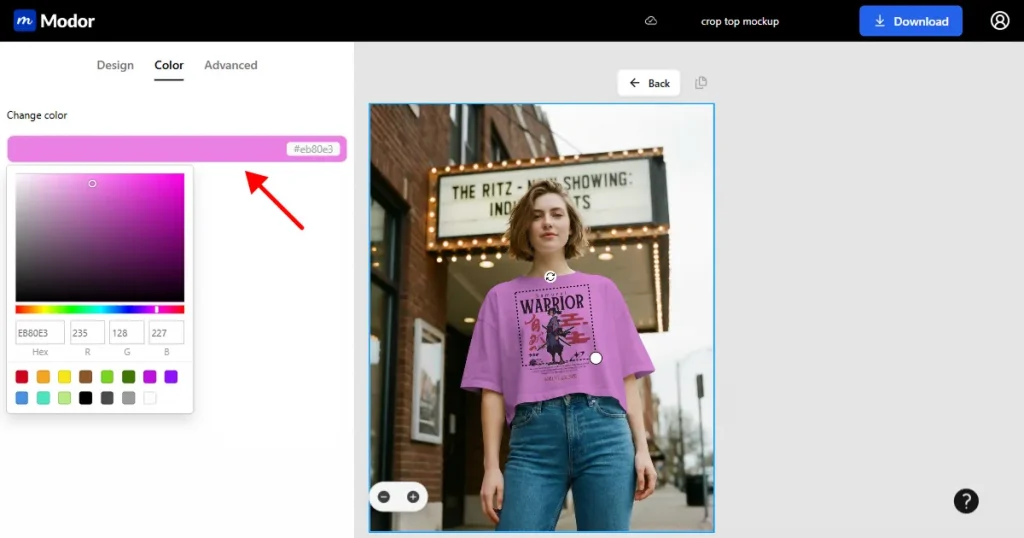
By default, the template uses a white crop top mockup. You can change it to any color you like by navigating to the Color tool and entering its RGB value, Hex code, or by choosing from the native color picker.
8. Apply Advanced Transform Tools
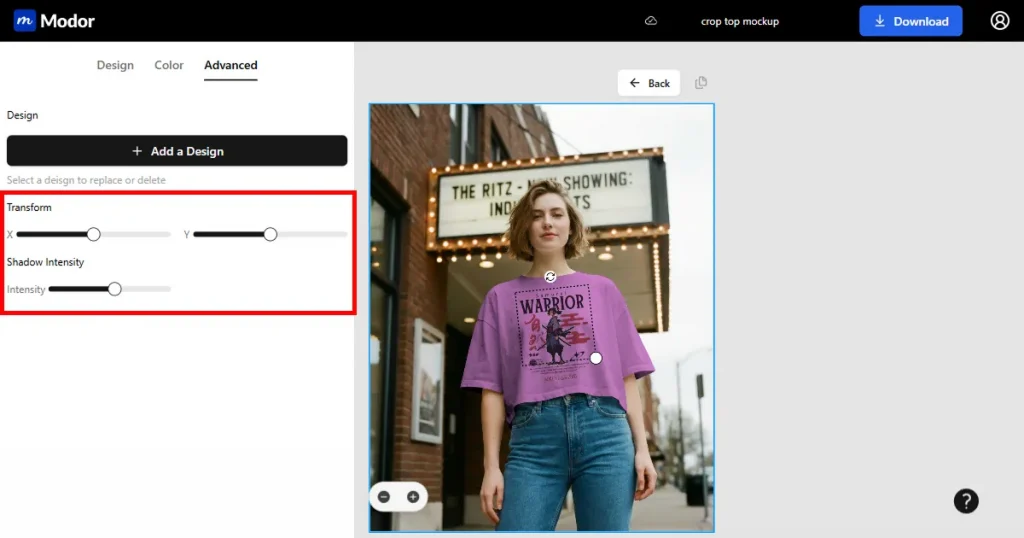
Once you are satisfied with the color and placement of the design. You can use advanced customization options, such as the shadow intensity tool and the transform tool, to increase the fabric’s depth, making it look like a natural piece of clothing.
9. Export the Mockup
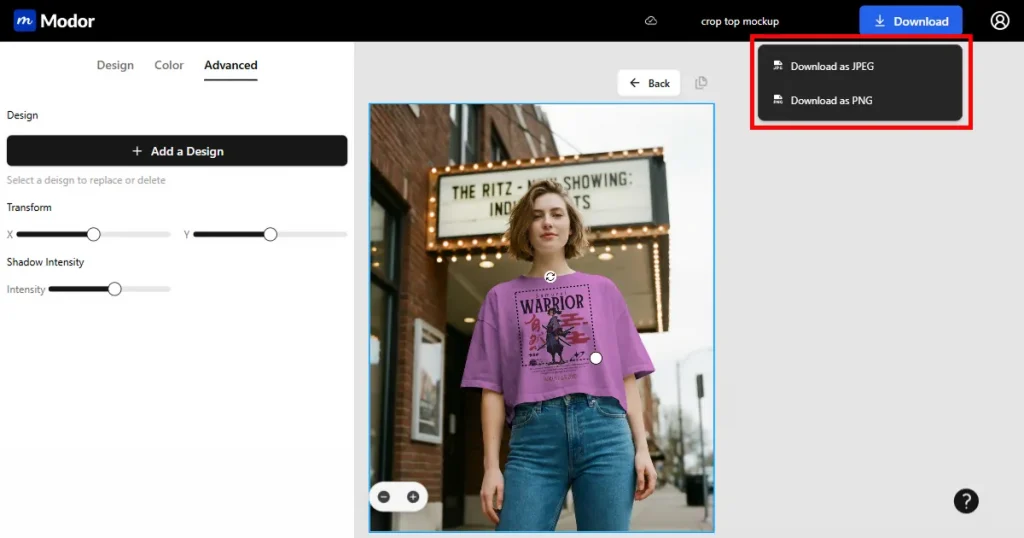
Once you are satisfied with the final look, you can export it at the highest quality as a JPG or PNG. It will be downloaded as a ZIP file. You can extract it and use it.
Now that you have a pretty basic idea of how to create crop top mockups, let’s have a look at what’s trending in the crop top space.
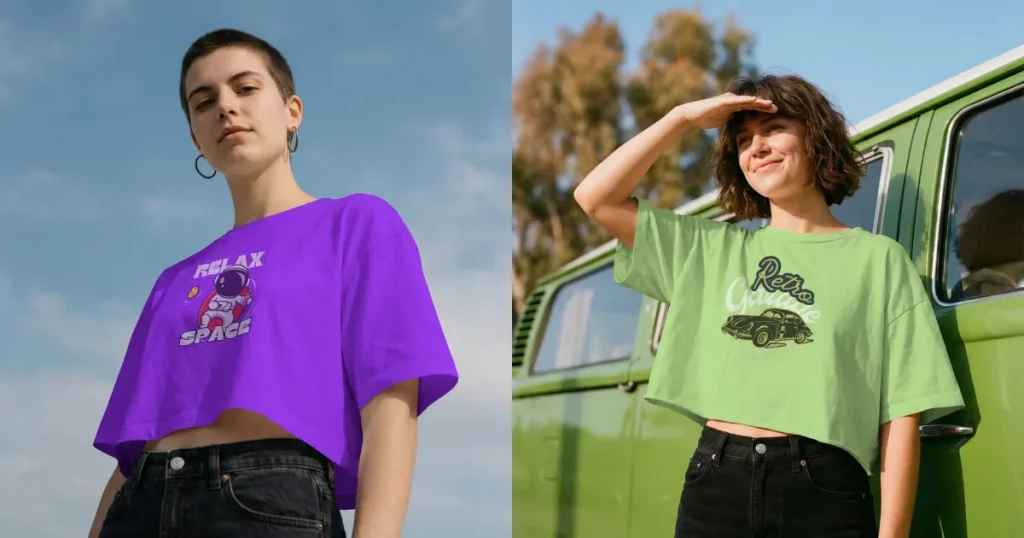
Oversized fits keep winning because they balance comfort with style. Buyers love pieces that don’t cling or restrict movement.
Focus specifically on creating black and white crop top mockups in an oversized cut, since these colors are always trending and the trend isn’t going anywhere.
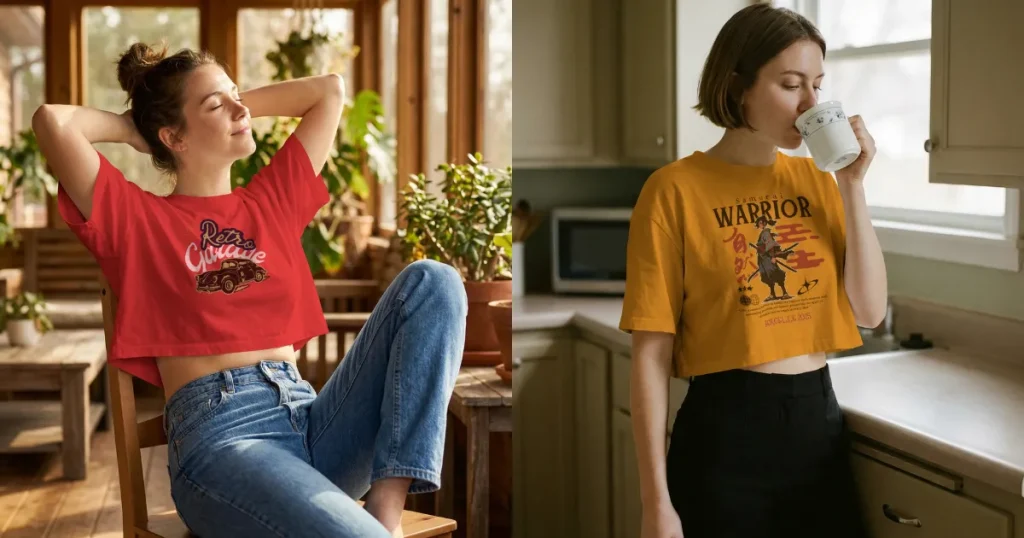
Half-sleeve crop tops land somewhere between sleeveless and full sleeves, and that middle ground appeals to a ton of buyers. People wear them year-round because they can be easily layered with jackets, hoodies, and cardigans.
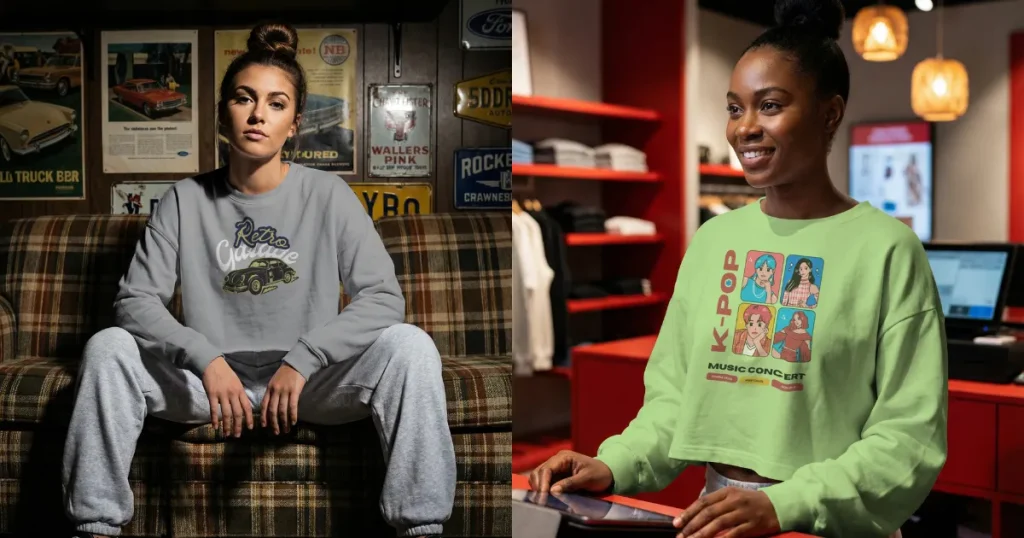
Full-sleeve crop tops are trending because you can wear them on cooler days or layer them easily without losing the outfit’s shape. This means print-on-demand sellers selling crop tops should always keep full-sleeve crop tops in their listings.
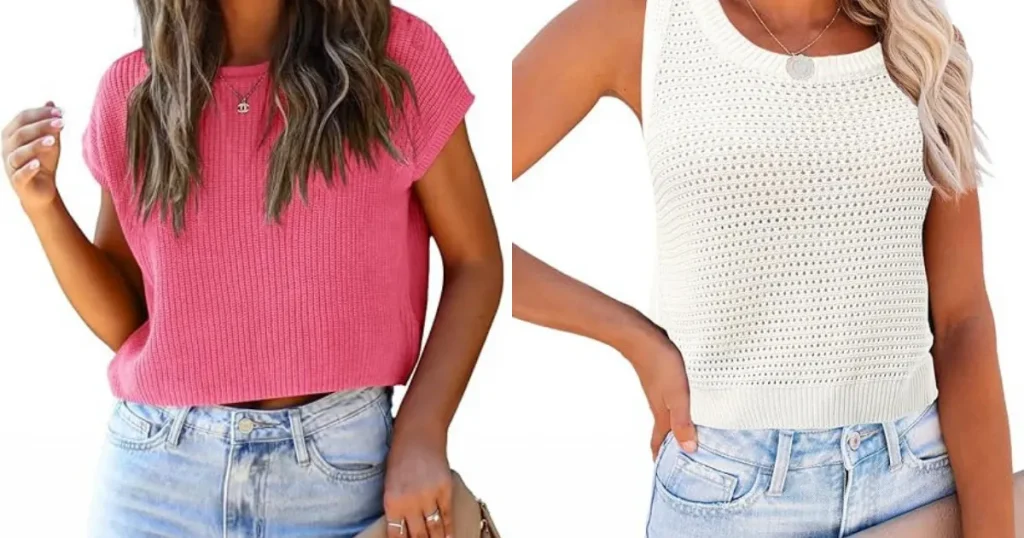
Knit fabrics have texture and warmth. They feel more deliberate than basic cotton, which means buyers perceive them as higher quality. So, if you are a POD seller, always create knitted black crop top mockups and white crop top mockups for your store, as they always look classy.
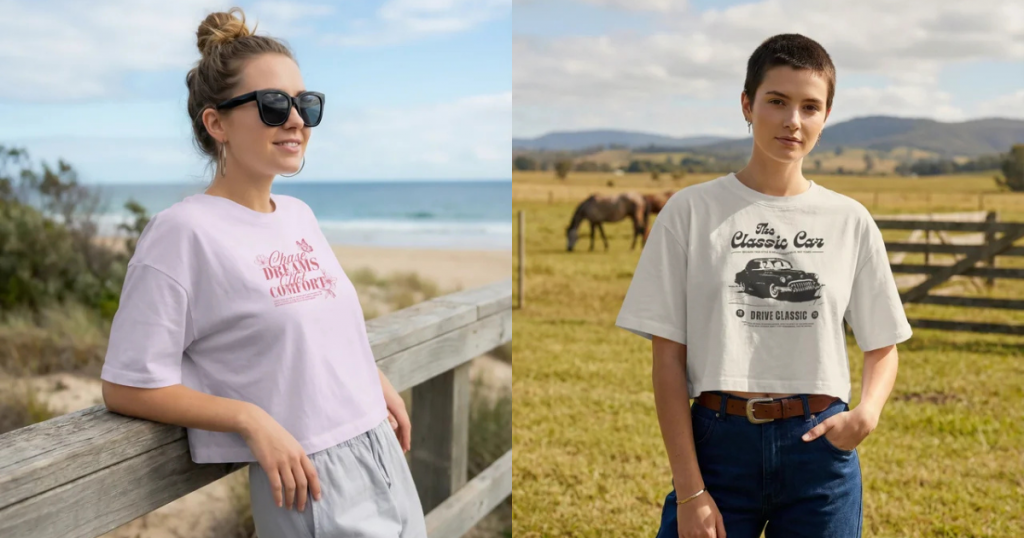
Minimalist designs dominate because they work with any wardrobe and age group. That’s why designers often rely on white crop top mockups and black crop top mockups, since they present designs in the cleanest way.
Your crop top mockups directly impact your sales. High-quality visuals sell. But investing in expensive photoshoots and professional models doesn’t make sense, especially when you’re starting out.
And Modor solves this exact problem. It comes with an AI-assisted placement feature, 10,000+ professionally created templates, and bulk export support so you can create 50+ mockups in a matter of minutes.
That being said, the right crop top mockup generator for you depends on your specific use case. So, test your designs across various platforms before making the final decision.
Use Modor, pick a template, upload your design, adjust placement, and export. It is quick and does not require design experience.
Modor is one of the fastest options, with ready templates and quick design placement that saves time.
Yes, a few tools, like Modor, allow free crop top mockups for commercial use. However, you must always check the license manually.
Templates are faster and more consistent, especially with tools like Modor that handle realism for you. But if you want more customization options and are well-versed in Photoshop, you can try that, but it would cost you a lot of time and expertise.
To customize a crop top mockup template in Modor, you need to upload your crop top designs, and Modor’s AI will place them in the correct perspective, lighting, and scale. Later, you can adjust the position sliders and shadow intensity to enhance the realism of the mockup.
It depends on your design. White crop top mockups work best for dark designs, while black crop top mockups highlight lighter designs. So, choose accordingly.


