


30+ Best iPhone Mockup Templates Worth Trying
Looking for the right iPhone mockup template to fit your brand? Checkout our list of the best iPhone mockup templates worth trying.
Published Feb 10, 2026
Learn how to create a realistic t-shirt mockup in Photoshop with a step-by-step guide, pro tips, mistakes to avoid, and faster alternatives.
13 min
Understanding how to create t-shirt mockup in Photoshop is extremely important for producing realistic, production-ready t-shirt mockups and design presentations. This guide delivers a structured, step-by-step process for designing high-quality clothing mockups in Photoshop using PSD files, smart objects, and layer adjustments.
You will learn to efficiently design clothes in Photoshop while ensuring your designs align with fabric folds, lighting, and fabric texture for a natural finish. The process covers everything from setting up the base mockup file to adjusting shadows, adding highlights, and maintaining color accuracy. By the end, you’ll be able to create stunning apparel mockups in Photoshop that work perfectly for e-commerce and POD stores.
Let’s get a few things ready before you start creating Photoshop t-shirt mockups. This setup ensures you can properly follow how to create t-shirt mockup in Photoshop without errors.
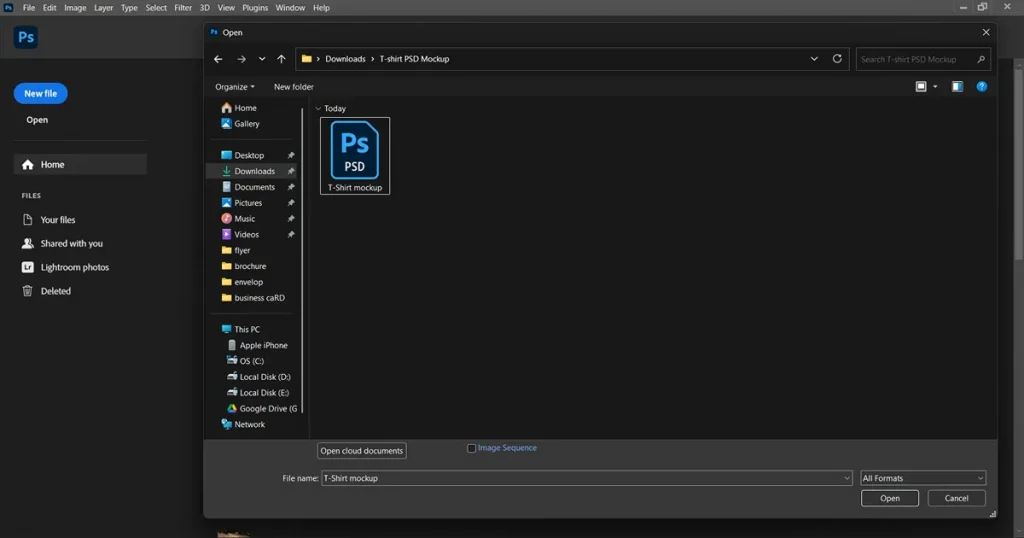
This is the foundation step when learning how to create t-shirt mockup in Photoshop using PSD files. Start by downloading a PSD t-shirt mockup from a decent t-shirt mockup tool and saving it on your local system.
Open Adobe Photoshop and Copy-paste the PSD t-shirt mockup file into Photoshop.
The PSD t-shirt mockup will open in Photoshop.

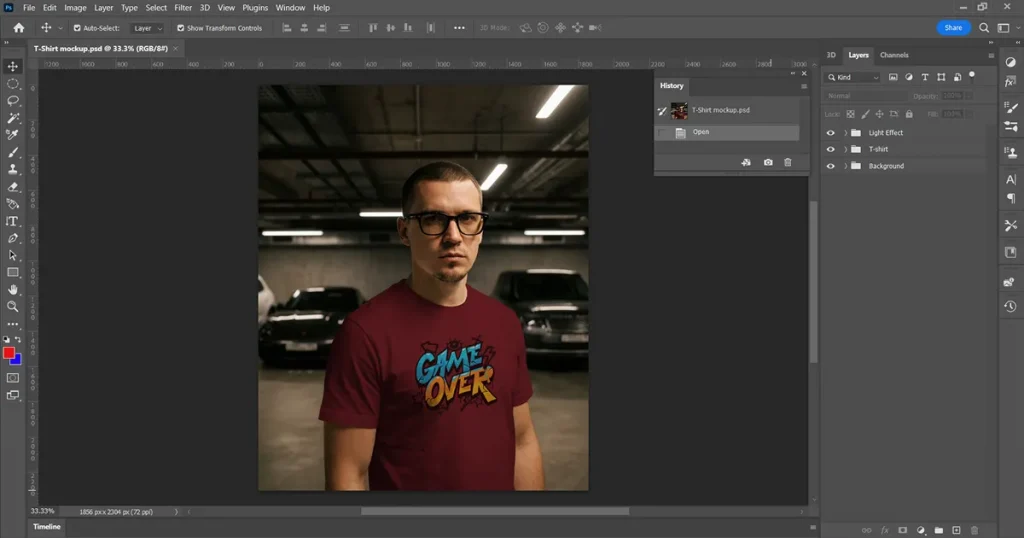
Look for the Layers panel on the right side. You will see layers like T-shirt, Light effects, and Background. We will just edit these pre-made layers, which came with the PSD t-shirt mockup, and the changes will appear on the original PSD t-shirt mockup file.
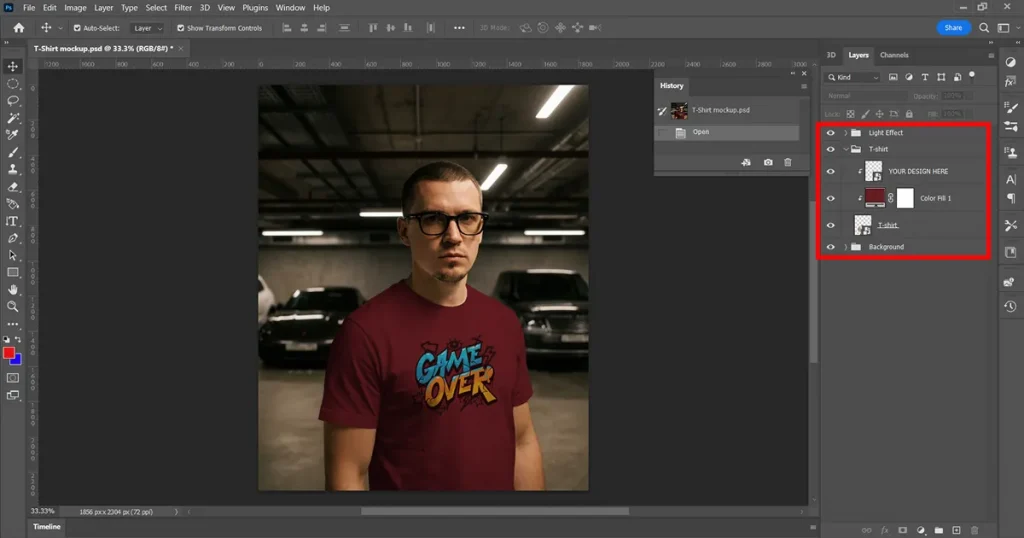
Go to the Layers panel and click on the T-shirt layer. A toggle menu will appear. Double-click the Color Fill T-shirt layer.
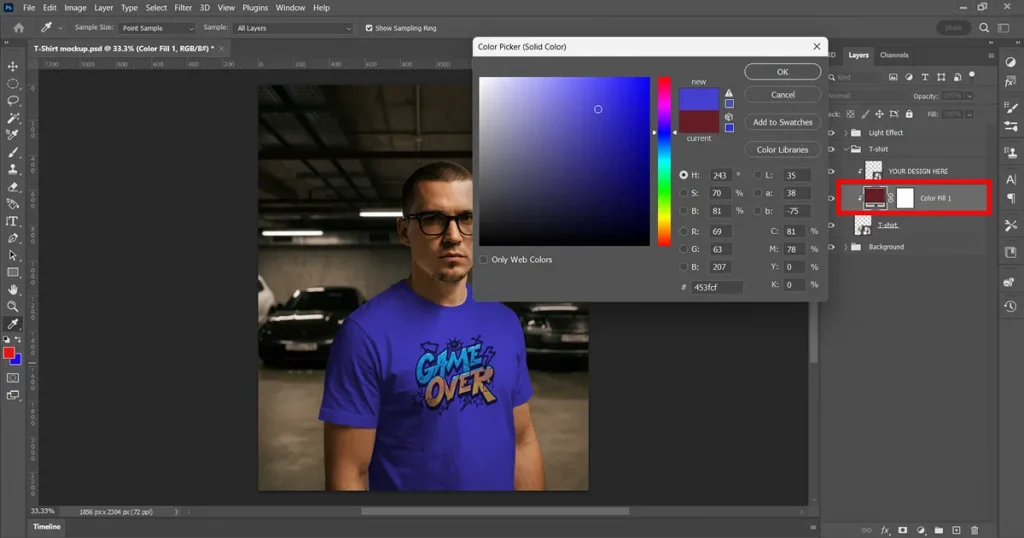
A pop-up will appear, set a color for the t-shirt using the color picker, RGB values, Hex code, or HSB values.
This step is critical when you design clothes in Photoshop because it ensures your artwork blends naturally with the fabric.

To change the design on the t-shirt, go to the Layers panel, select the T-shirt layer, and from the toggle menu options, double-click the “CHANGE DESIGN HERE” layer.
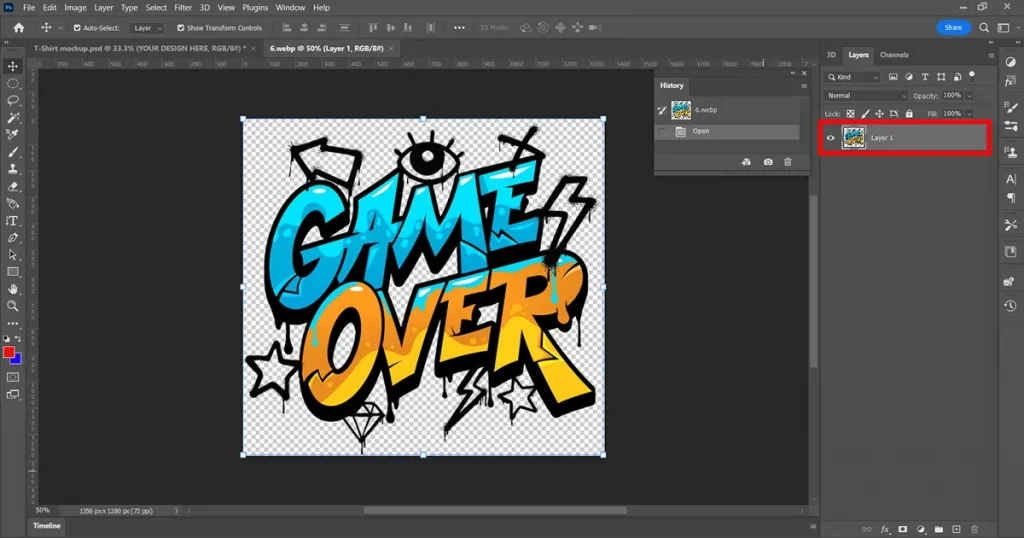
A new window will open in your Photoshop file.
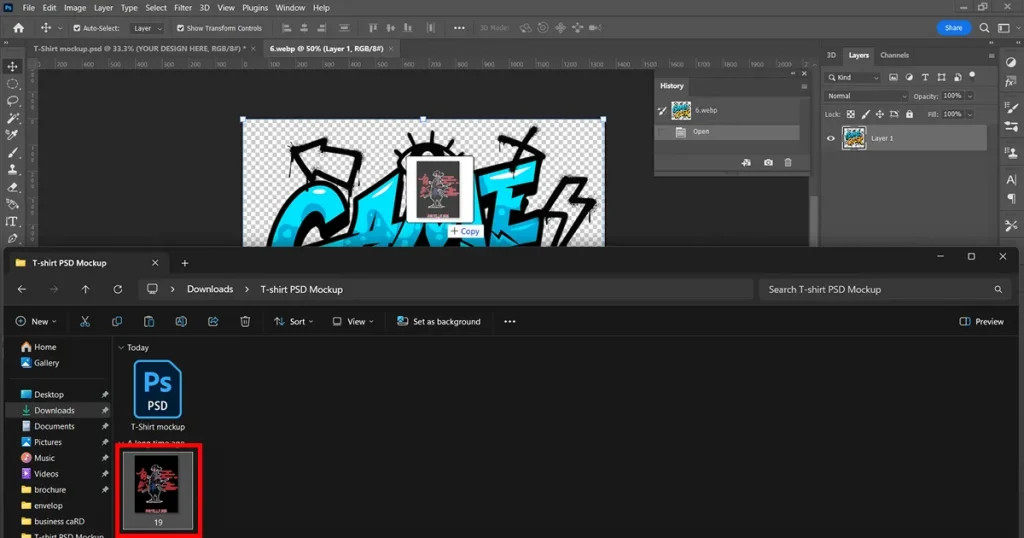
Copy your new t-shirt design and paste it into the window.
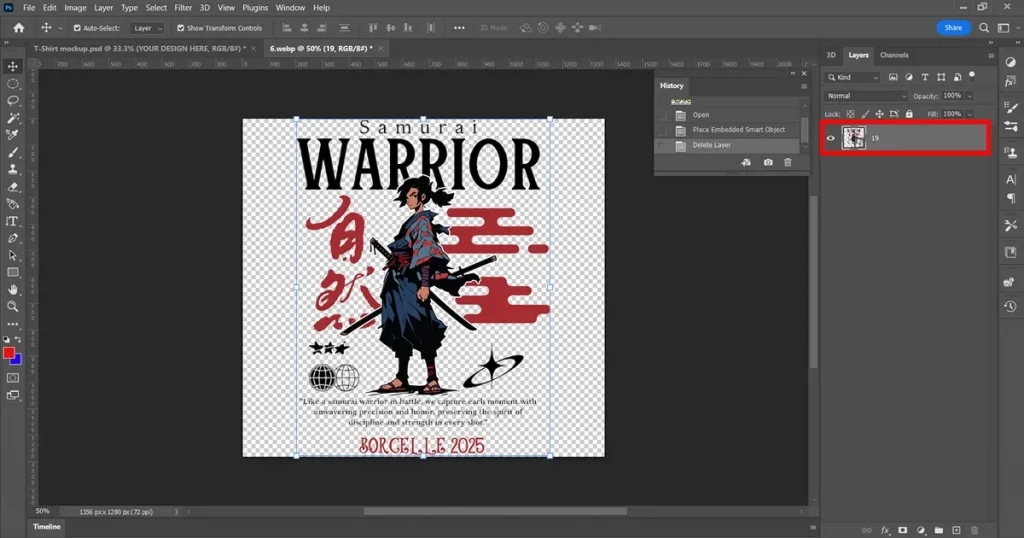
Delete the older design from the PSD t-shirt mockup file. Save the new t-shirt design using Ctrl+S.

The new t-shirt design will be automatically updated on the main PSD t-shirt mockup file.
Proper lighting is what separates basic edits from professional apparel mockups in Photoshop.
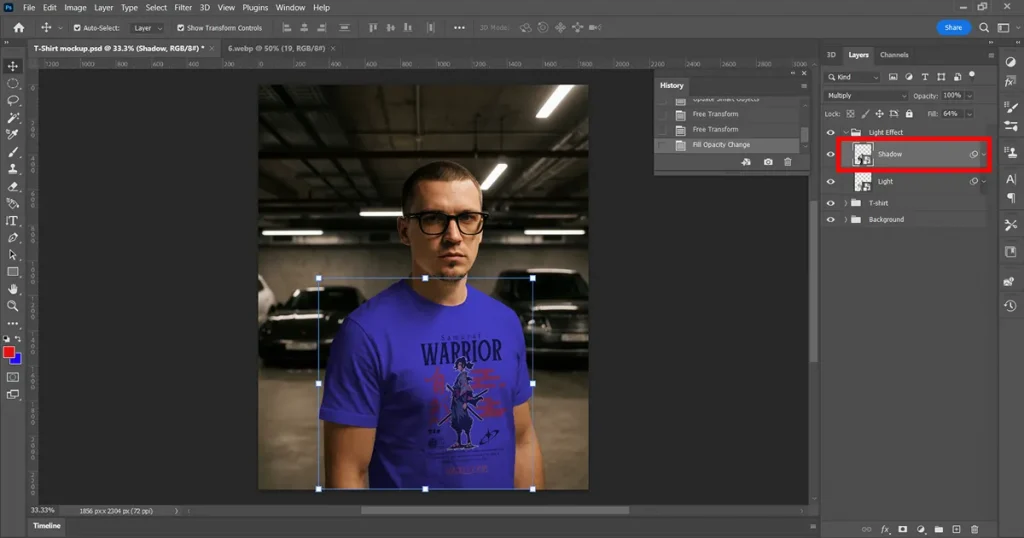
Go to the Layers panel, select the Light effects layer, and a toggle menu will appear, select the Shadow layer. Next, go to the Fill option on the right side of the Layers panel and set a value.
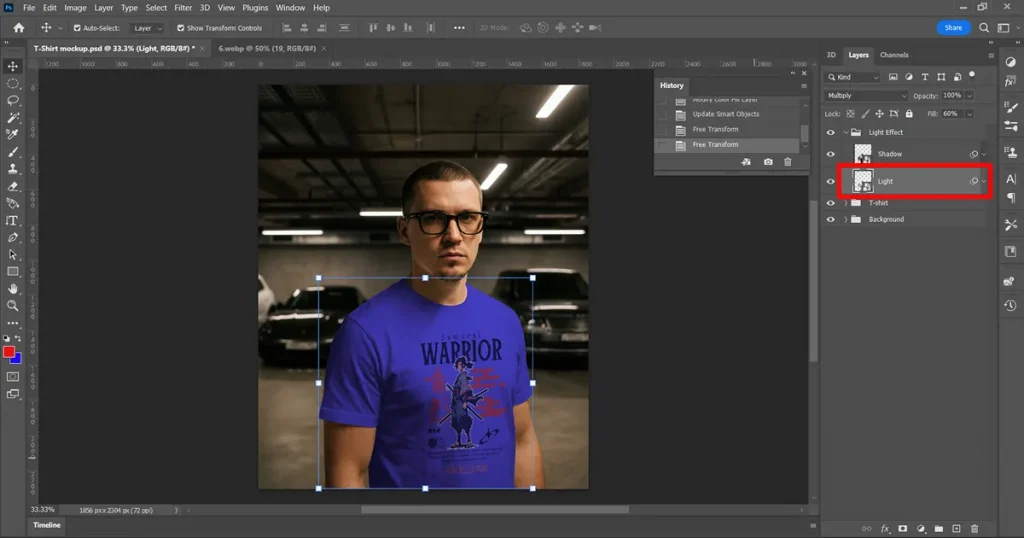
Similarly, select the Light layer and set an appropriate Fill value for it.
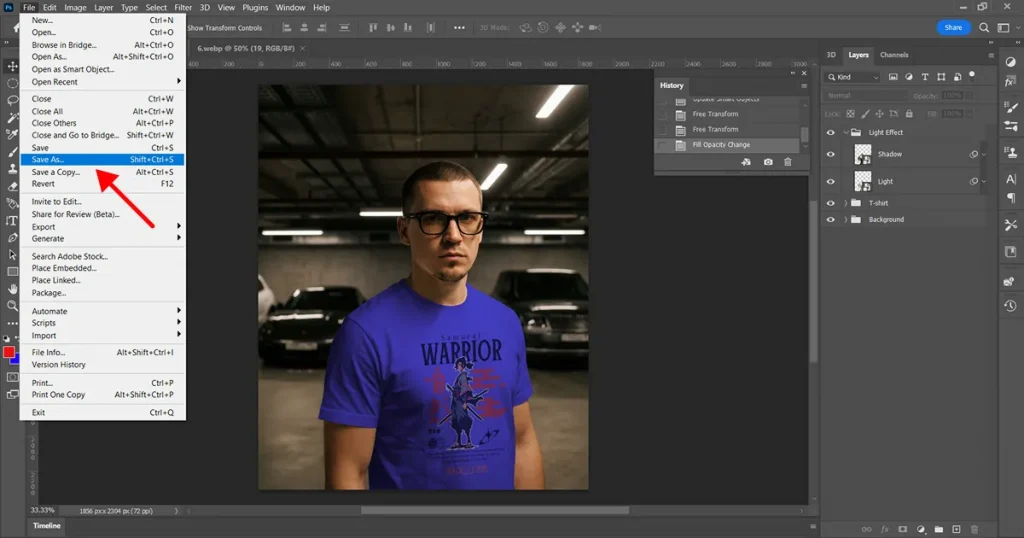
To save the PSD t-shirt mockup, go to File from the top menu bar, then click Save As or Press Shift+Ctrl+S, and with this last step, the process of how to create a t-shirt mockup in Photoshop ends.
You can’t miss these Photoshop shortcuts if you really want to learn how to create t-shirt mockup in Photoshop.
| Shortcut | What it does |
|---|---|
| Ctrl + J | Duplicate layer |
| Ctrl + Shift + I | Invert selection |
| Ctrl + Z | Undo |
| Ctrl + T | Free Transform |
| Ctrl + Alt + G | Create a clipping mask |
| Ctrl + Shift + S | Save As |
| Ctrl + Alt + Shift + E | Merge visible layers |
Using Keyboard shortcuts in Photoshop can save time, reduce mistakes, and make long editing sessions easier.
Even experienced designers struggle with designing clothing mockups in Photoshop when these fundamentals are ignored. Below are 3 most common mistakes to be aware of before you start on how to create t-shirt mockup in Photoshop.
This is where many people learning how to create t-shirt mockup in Photoshop start facing limitations.
Photoshop is what you will hear if you ask a designer, “How did you create that awesome t-shirt mockup?” But you don’t know what happened behind the scenes. From learning Photoshop to Watching YouTube tutorials, Photoshop has a never-ending learning cycle.
If you are like me, who hates the process but wants the result, know why Photoshop becomes a bottleneck after a while.
Mockup generators are designed to solve speed and consistency issues. They are browser-based mockup tools that can be easily accessed and do not require manual installation.
Mockup generators help you a lot in the process of how to create t-shirt mockup in Photoshop. These mockup generators often come with automatic lighting, shadows, and fabric blending. What takes an hour in Photoshop can be done in minutes here. Though you may not get high design controls, you are definitely getting speed and automation.
If creating clothing mockups in Photoshop feels slow, tools like Modor simplify the entire workflow. Below are a few reasons to consider Modor over traditional Photoshop mockups.
With Modor, the whole process of creating a t-shirt mockup in Photoshop becomes much easier; you can create t-shirt mockups within minutes. This mockup generator doesn’t need manual shadows or highlights. The system handles all automation, saving you time. The fast speed and automation make a huge difference when you need a quick launch or want to test new designs.
On Modor, creating a t-shirt mockup doesn’t require layers or design-heavy concepts. You choose a mockup, add design, add color, and it’s done. There’s no need for PSD files as well; this mockup generator offers 10,000+ templates across various categories, making it a great Photoshop alternative for non-designers.
Consistency is where Modor dominates. Every mockup follows the same rules for lighting and fabric perspective. This is extremely useful for ecommerce stores. Visual consistency can make your product catalog cleaner and in tune.
Modor is especially useful if you’re struggling to scale apparel mockups in Photoshop manually. When you need dozens of mockups, Modor can get the job done faster and save you hours.
Color variations and design swaps are quick, making this mockup generator ideal for print-on-demand sellers and growing ecommerce stores that can’t afford manual workflows anymore.
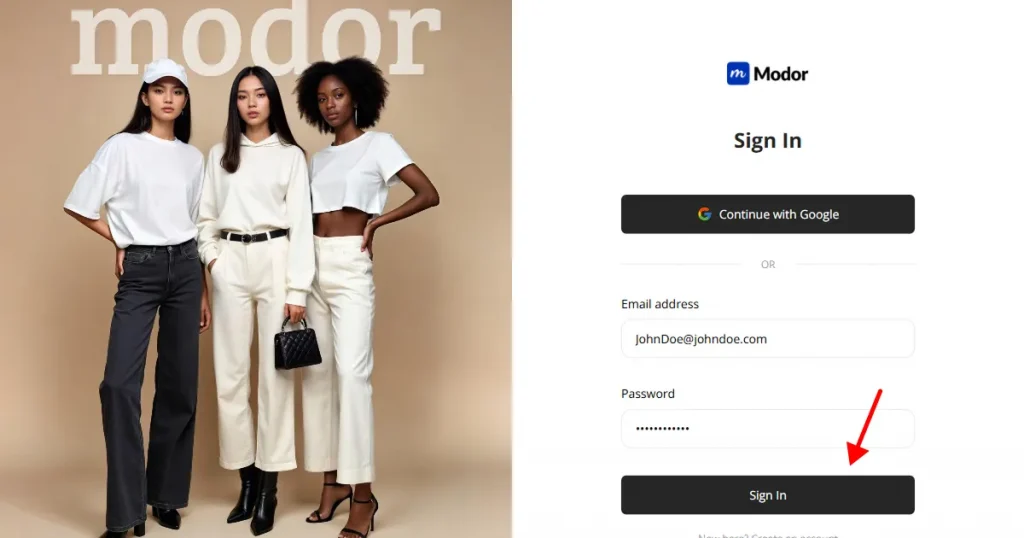
Step 1: Visit Modor and create an account using the Google or email sign-up option. If you already have an account, log in with your saved credentials.
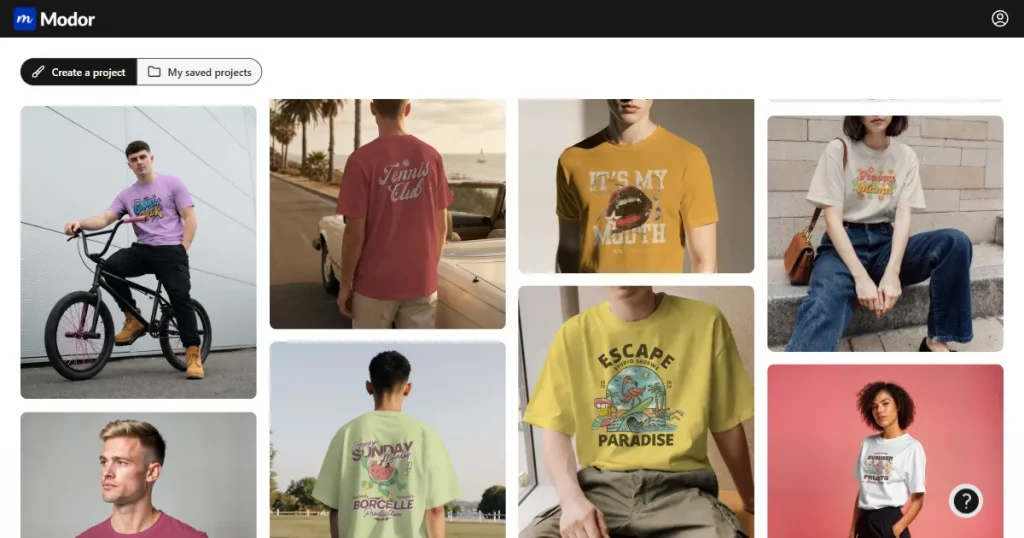
Step 2: Once you are in the dashboard, click on T-shirts. Browse the best t-shirt mockup templates further using filters like Gender (Men or Women), Model (Black, White, or Asian), and Style (Flat lay, cropped head, without people, or multiple).

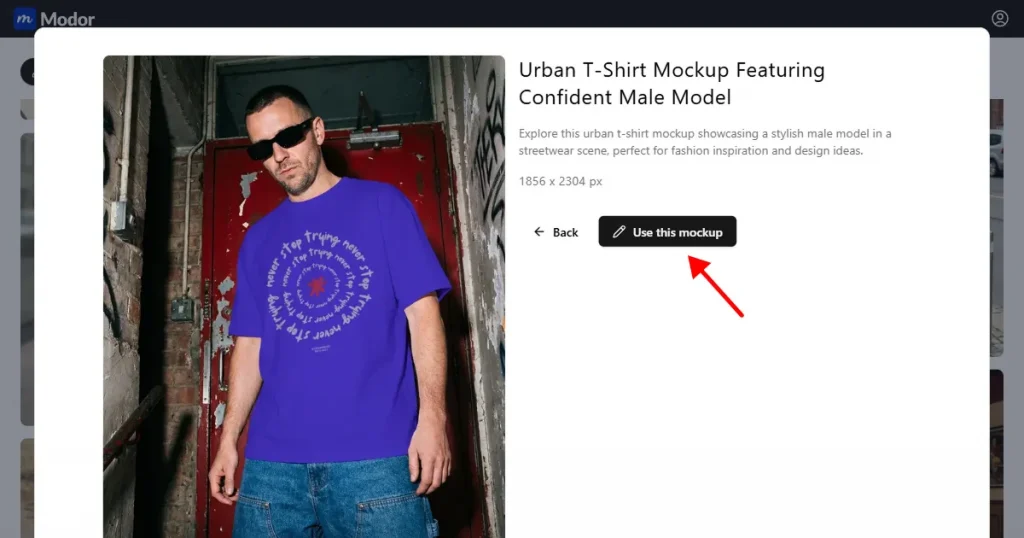
Step 3: Select a mockup that suits your brand and design. Next, click Use this mockup to open it in the editor.
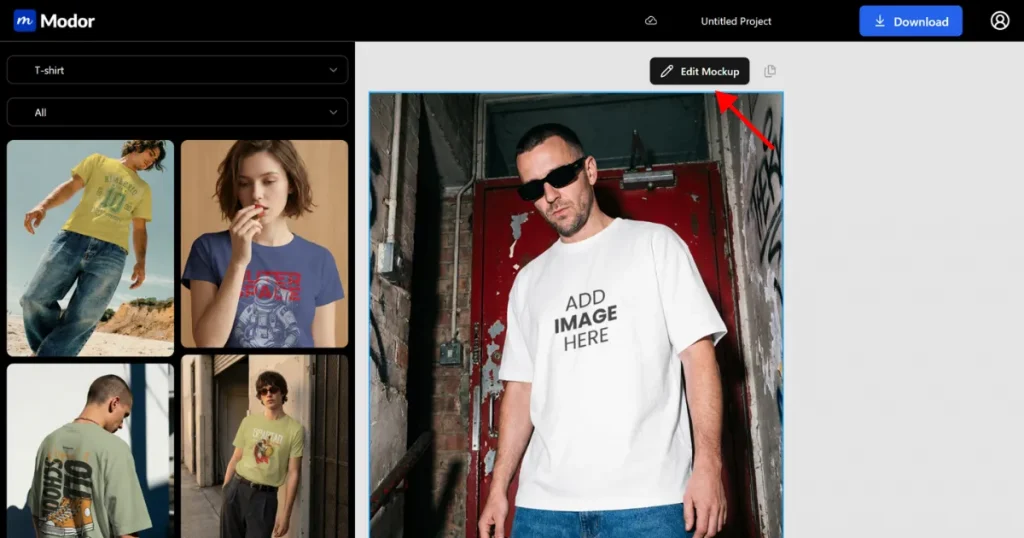
Step 4: Click on Edit Mockup to start editing the mockup.
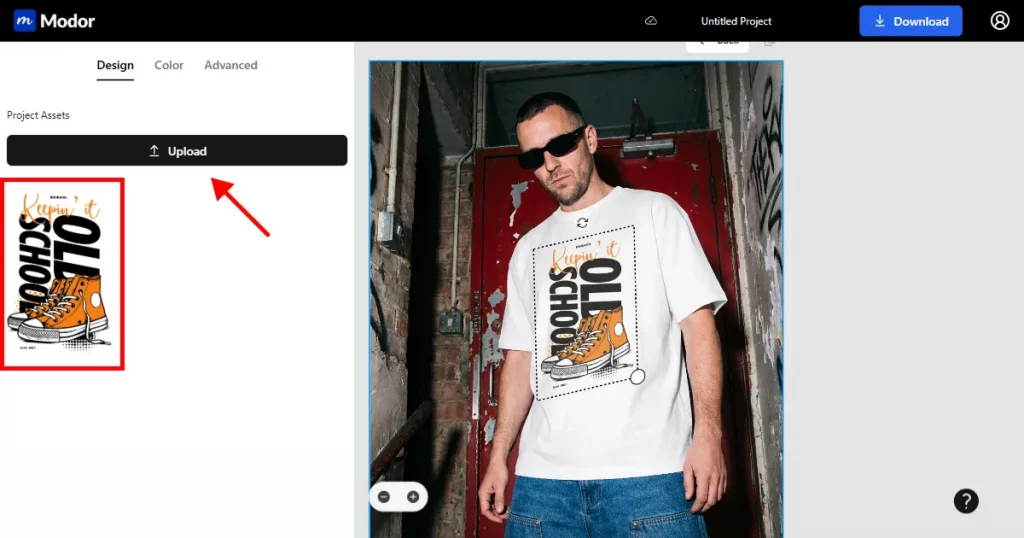
Step 5: Upload a t-shirt design under the Project assets tab. Upload a PNG design file, as PNG preserves sharp details.
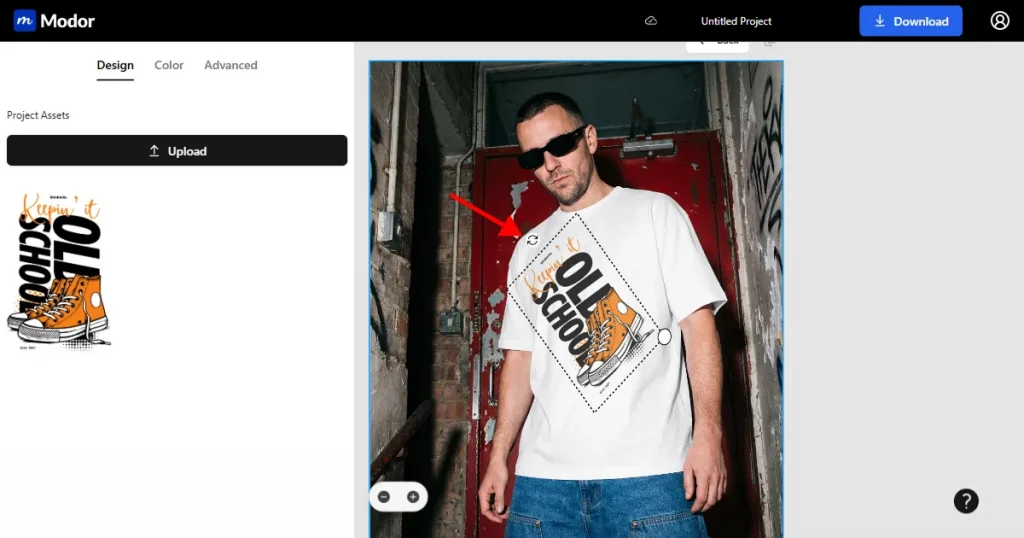
Step 6: Rotate, resize, and position the t-shirt design on the mockup.
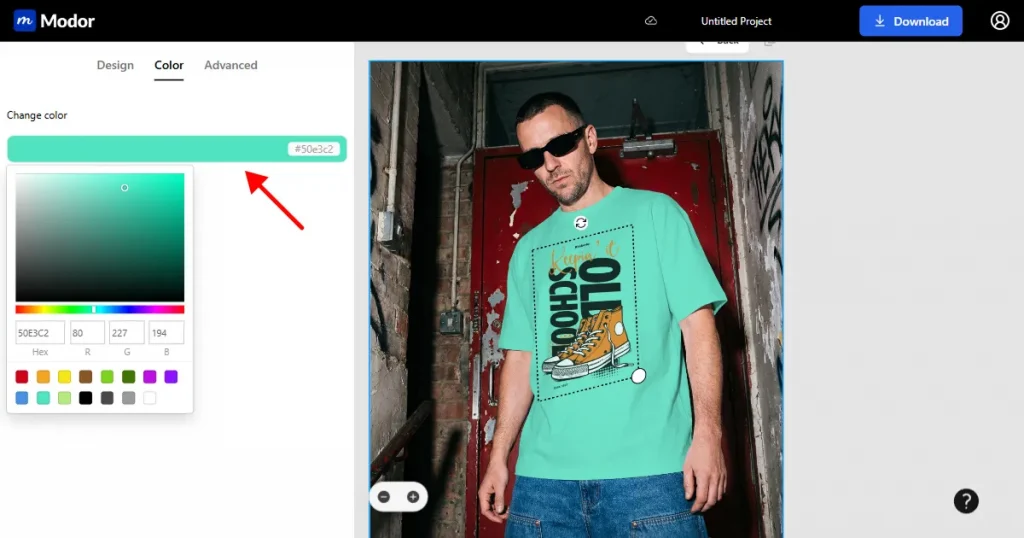
Step 7: Change the background color. Choose a color of your choice from the color picker.
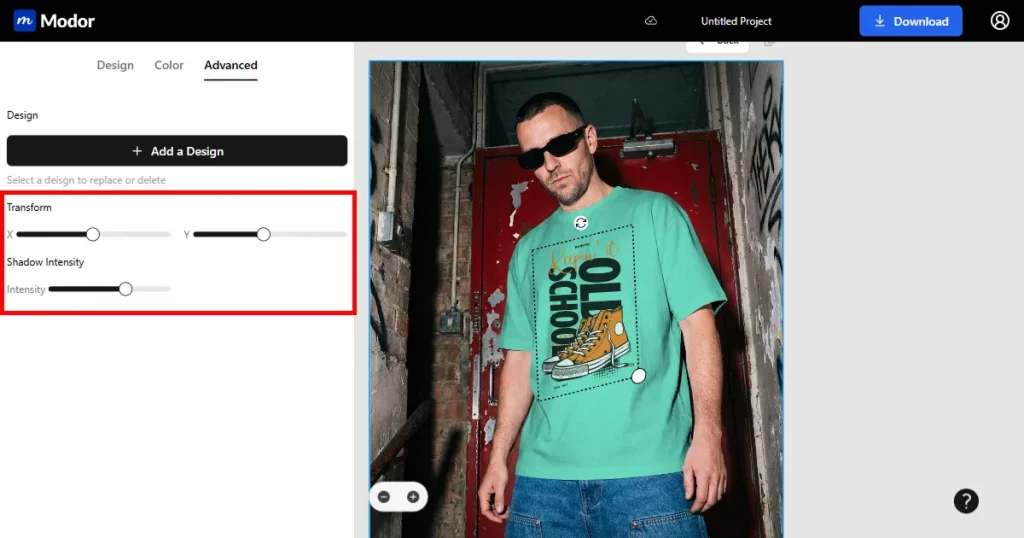
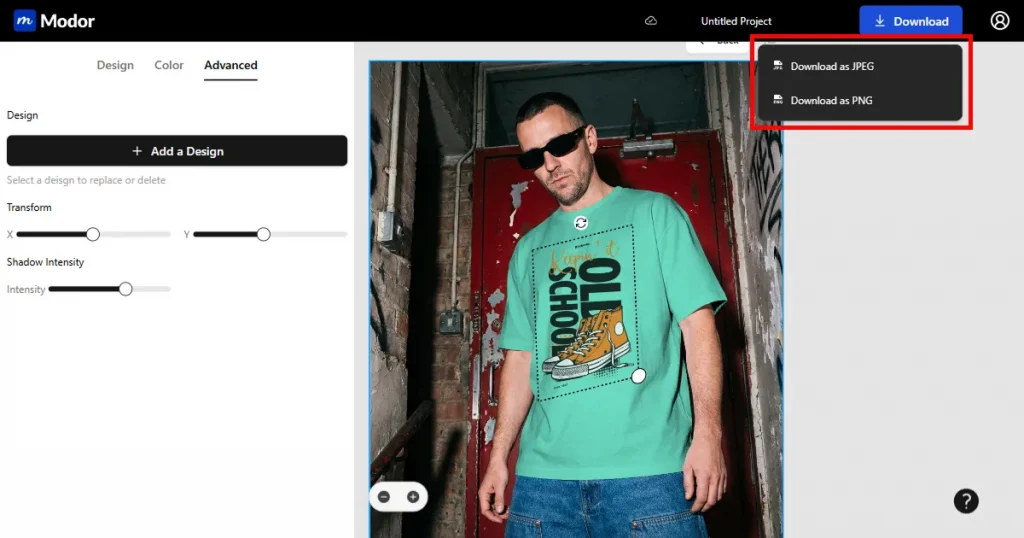
Step 8: Use advanced controls like X/Y positioning and shadow intensity. Shadow intensity is very useful. You can add realistic shadows to your mockup with just a slider. You can adjust lighting and shadows here too like you did in the how to create t-shirt mockup in Photoshop step-by-step process.
Step 9: Lastly, give the t-shirt mockup an appropriate name and download it as a JPG or PNG.
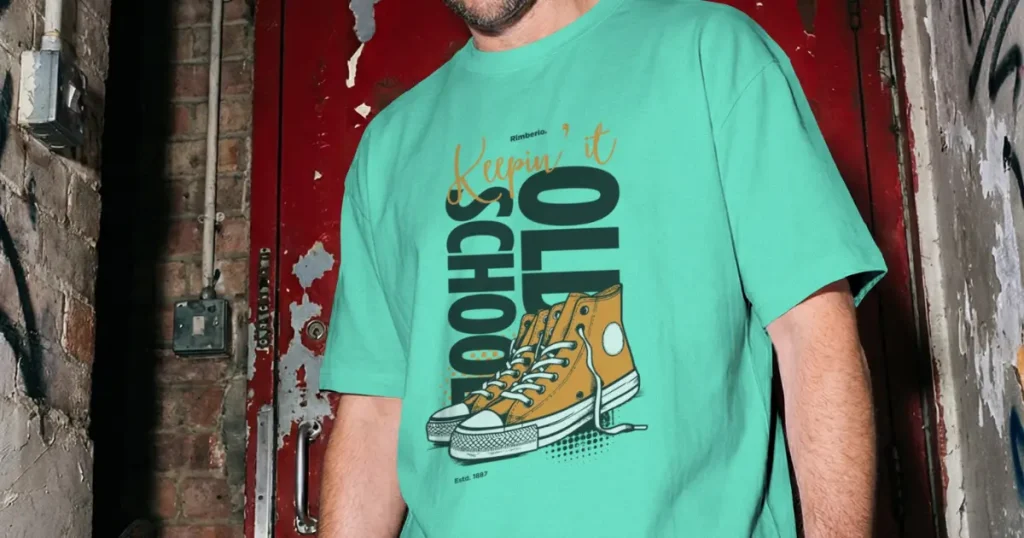
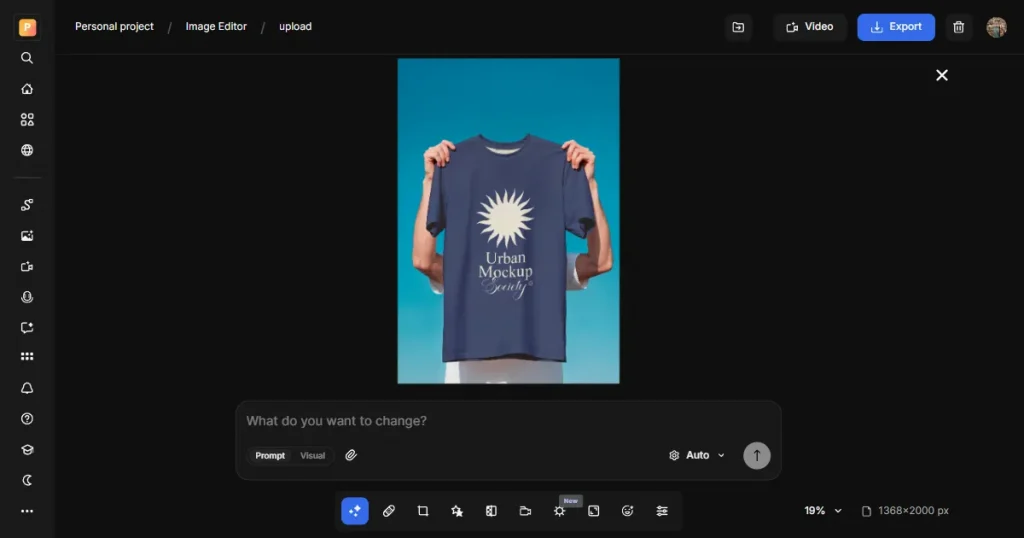
And here’s the final image
Note: All projects are automatically saved on Modor, so you can come back later, revisit your design, make revisions, or continue editing.
These resources help you create better clothing mockups in Photoshop without having to start from scratch.
GraphicBurger
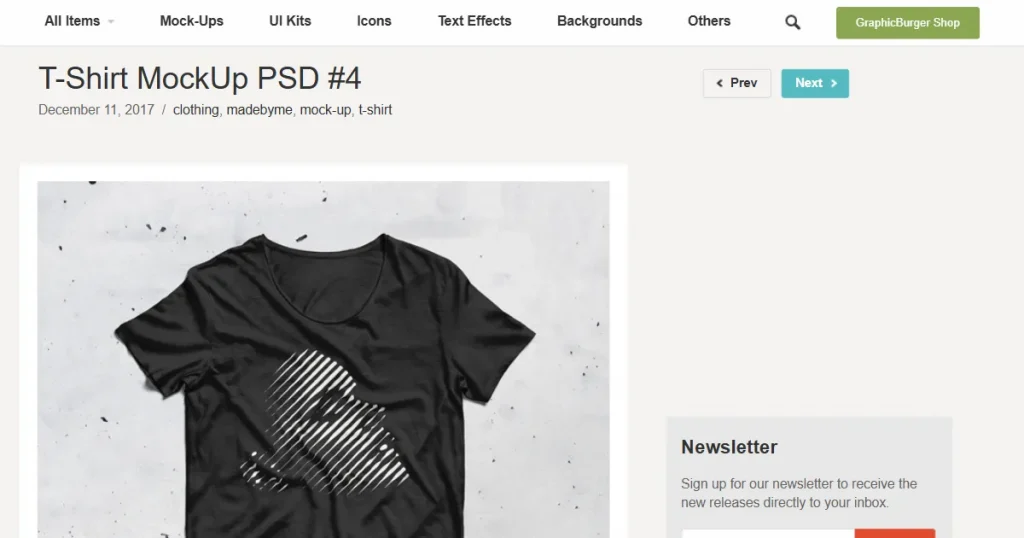
GraphicBurger is one of the most popular sources for free, high-quality PSD mockups, which can help you a lot with how to create t-shirt mockup in Photoshop process. The mockups usually come with smart objects already, saving you time when placing designs.
MockupWorld
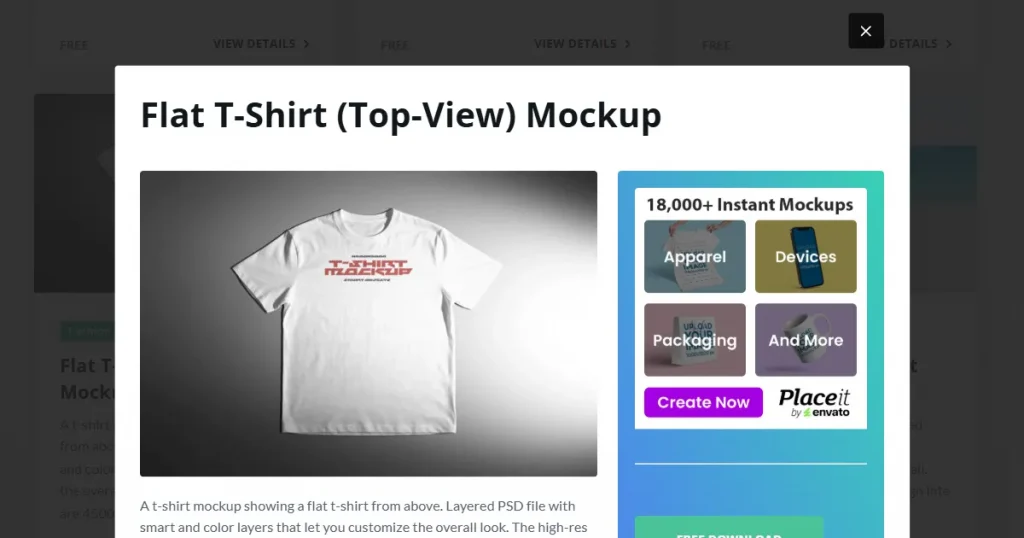
MockupWorld is more like a curated library than an independent platform. You get free mockups from designers across the world, often with different angles and styles. Always check the license details, but most files are safe for personal and commercial use.
Freepik (free tier)
Freepik has a large collection of mockups, including t-shirts, but you need to be more thoughtful with licensing. The free tier usually requires attribution, and some mockups are locked behind a paid plan. Still, it’s extremely useful when you need variety or want to experiment with different styles quickly.
Behance community mockups

Behance is not a mockup tool or library, but many designers share free PSD mockups there as portfolio pieces. These mockups are often more creative and less generic because they come straight from the designers. The only downside is that file organization can vary from designer to designer
Vecteezy
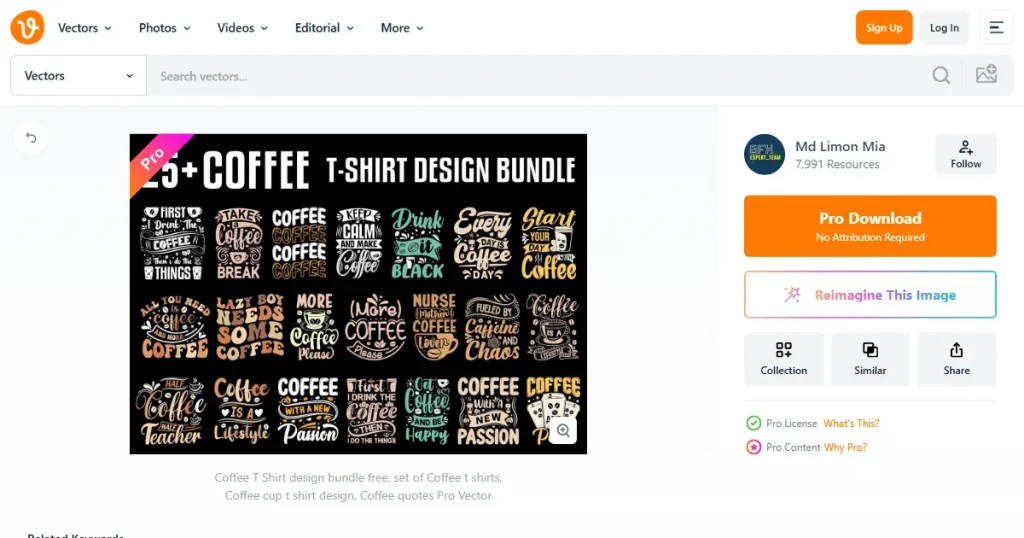
Vecteezy provides free vector graphics, icons, and illustrations that work well for t-shirt designs. Many assets are highly customizable, which makes it easier to adjust colors or shapes across different mockups. Some files may require attribution to the designer.
Creative Market (free goods section)
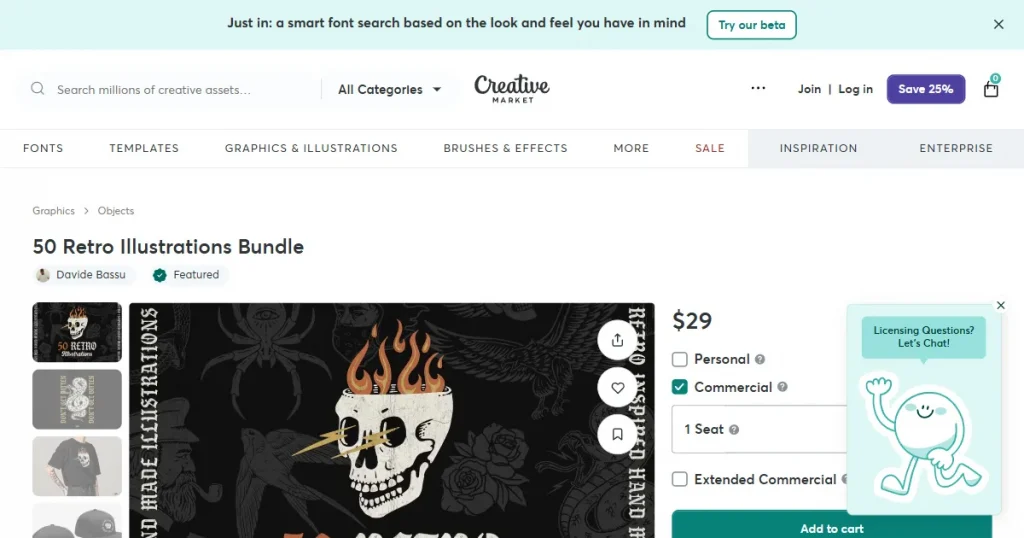
Creative Market releases free design assets every week through its free section. These include fonts, graphics, patterns, and sometimes t-shirt designs. The quality is usually high because the assets are created by professional designers.
OpenClipart
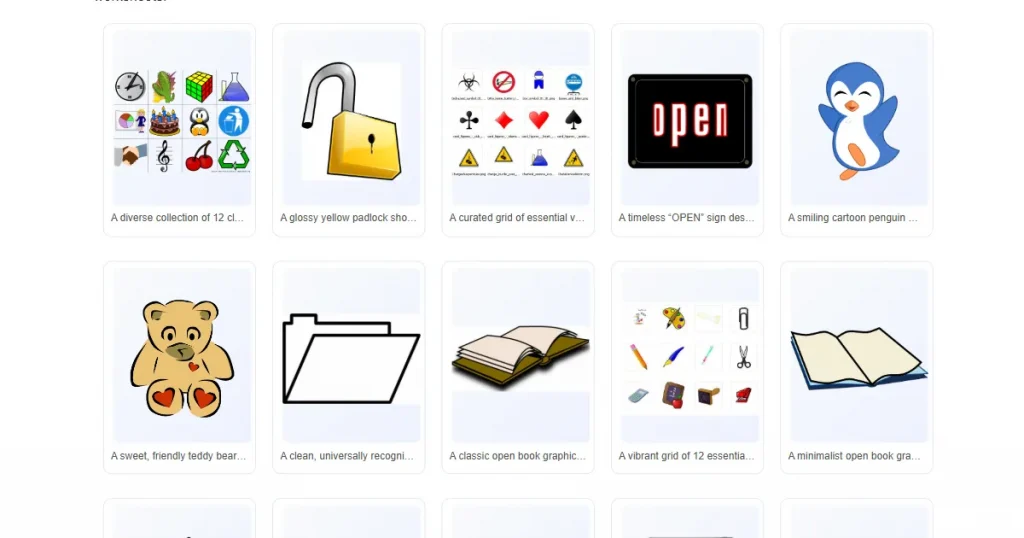
OpenClipart offers public-domain vector artwork that you can use freely. The designs are simple and trendy. Since everything is public domain, you don’t have to worry about licensing issues. It’s best used for simple graphics rather than detailed artwork.
Google Fonts
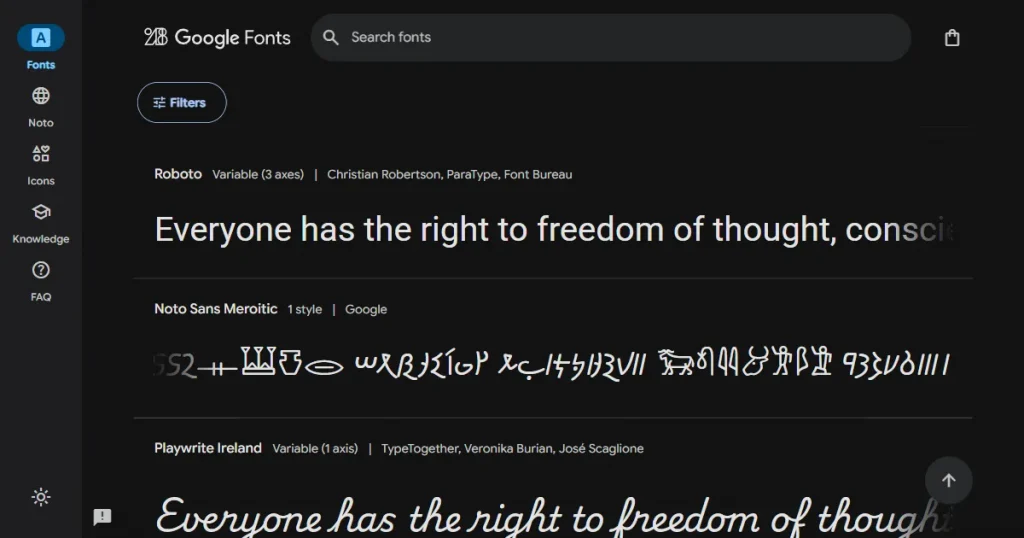
Google Fonts is one of the safest font resources available today. All fonts are free for commercial use. The font library is massive, and many fonts are optimized for readability and print
DaFont
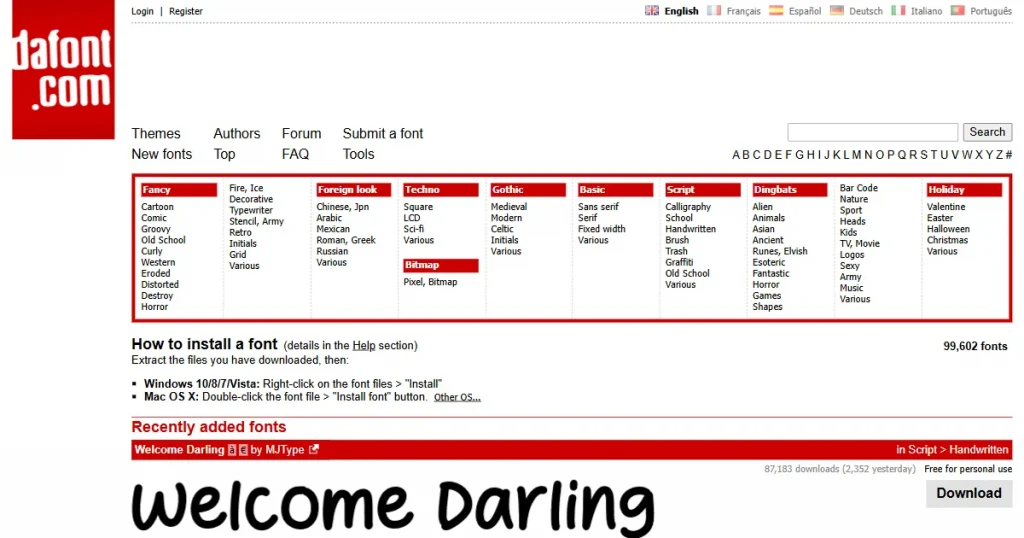
DaFont offers a large collection of decorative and display fonts popular for t-shirt designs. However, not all fonts are free for commercial use. You must always check the license for each font.
Coolors
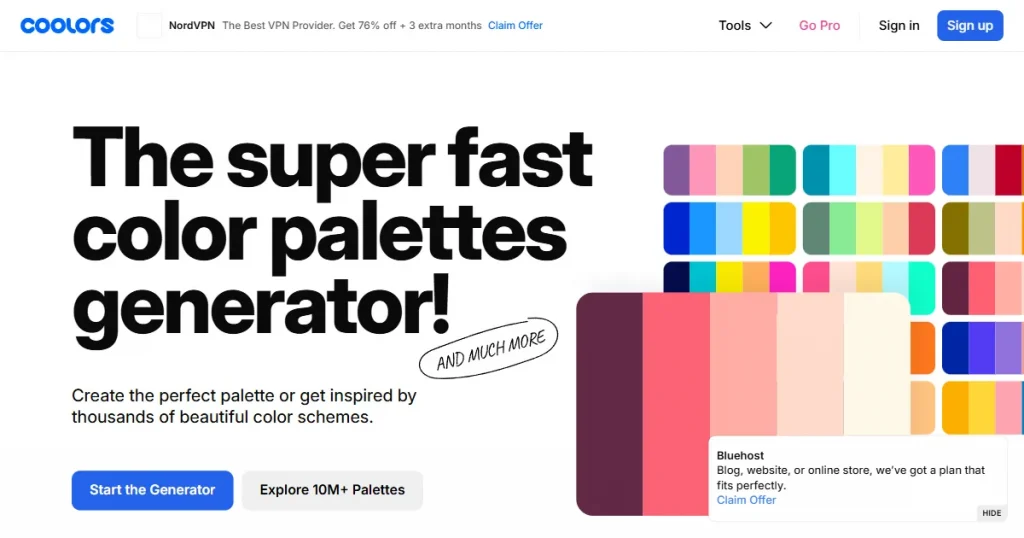
Coolors is a simple tool for quickly creating color palettes. You can create palettes from scratch or extract colors from images. Coolors is mostly used by designers to avoid color clashes and keep designs balanced.
To create a t-shirt mockup in Photoshop, start by downloading a PSD t-shirt mockup. Import the PSD t-shirt mockup into Photoshop, and locate the layers for the t-shirt, background, and light effects. Set a color for the t-shirt using a color fill layer, change the design on the t-shirt using the “change design here” layer, and lastly set the fill values for the shadow and light layers. After all is done, go to file > Save as and save the PSD t-shirt mockup.
This method is commonly used by designers who design clothes in Photoshop for ecommerce. It’s pretty easy. Just download a PSD t-shirt mockup from free mockup sites and resources. Import it into Photoshop, set a color, change the design on the t-shirt, set Shadow and Light settings, and click on Save as.
You should design clothes in Photoshop if you want full creative control and hyper-realistic results. It works best for branding projects and premium visuals. Whereas mockup generators work best when speed matters most or when you don’t have design expertise. Mockup generators are mainly used by small startups, freelancers, and e-commerce sellers.
PSD mockups are not necessarily required to create apparel mockups in Photoshop, but they save a lot of effort. They usually come with smart objects and pre-built layers. But if you are looking to save even more time, mockup generators like Modor may be the right choice, plus it’s easier than learning how to create t-shirt mockup in Photoshop.
If you don’t have Photoshop or don’t know how to use it, you can use online mockup generators like Modor, MediaModifier, etc. There are also design tools that offer built-in mockup features. While these tools don’t offer full control, they are much easier to use and work well for ecommerce visuals.


